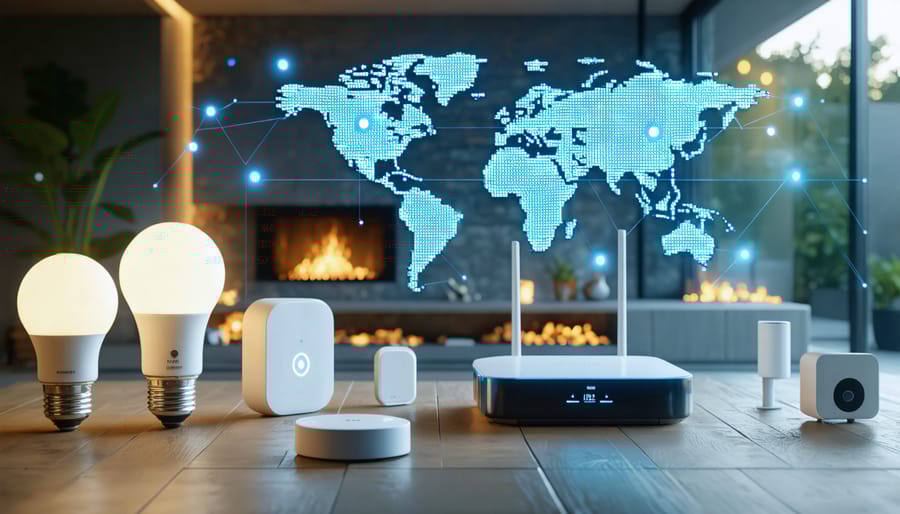
Transform your home into an automated haven with Zigbee DIY projects that deliver professional-grade smart home upgrades without breaking the bank. Begin with a Zigbee hub like Samsung SmartThings or Home Assistant, which serves as your system’s brain and connects all your devices seamlessly. Add affordable Zigbee sensors to doors, windows, and high-traffic areas for enhanced security and automation triggers. Integrate smart bulbs, switches, and plugs to create customized lighting scenes and automated routines that respond to your daily patterns.
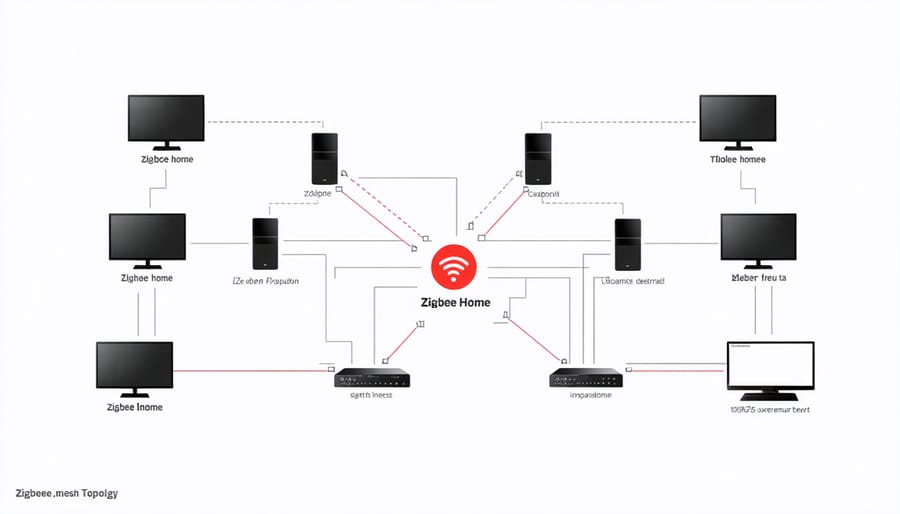
What makes Zigbee particularly appealing for DIY enthusiasts is its reliable mesh network, low power consumption, and extensive compatibility with popular smart home brands. Unlike Wi-Fi-based solutions, Zigbee devices communicate efficiently with each other, strengthening your network as you add more components. Whether you’re automating a single room or your entire home, this open-source technology provides the perfect foundation for beginners while offering advanced capabilities for more experienced users.
Why Zigbee is Perfect for DIY Smart Homes
Zigbee vs. Other Smart Home Protocols
When choosing a smart home protocol, it’s helpful to understand how Zigbee stacks up against other popular options. While Wi-Fi is great for high-bandwidth devices like security cameras, it tends to be power-hungry and can strain your network with too many devices. Zigbee, on the other hand, sips power and can handle up to 65,000 devices without breaking a sweat.
Z-Wave is another robust option, but it’s a proprietary system that often comes with higher device costs. Zigbee’s open standard means more affordable options and greater flexibility for DIY projects. Plus, Zigbee’s mesh network gets stronger with each device you add, unlike Bluetooth’s limited range.
Speaking of Bluetooth, while it’s perfect for personal devices like speakers and smartphones, it’s not ideal for whole-home automation. Zigbee’s faster response times and longer range make it a better choice for light switches, sensors, and other home automation tasks.
The real magic of Zigbee lies in its reliability and low latency – when you flip a smart switch, you want your lights to respond instantly, and Zigbee delivers exactly that.

Essential Tools and Components for DIY Zigbee Projects
Choosing Your Zigbee Hub
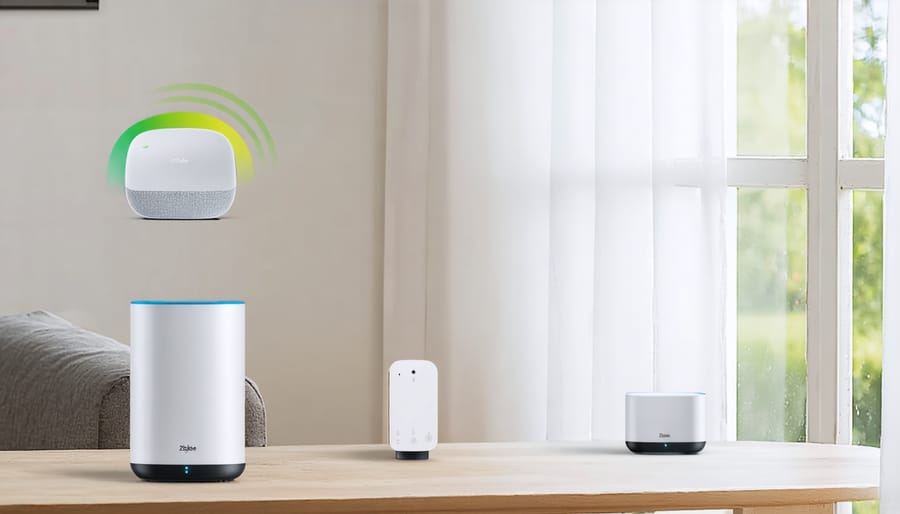
Selecting the right Zigbee hub is crucial for your DIY smart home journey, and fortunately, you have several excellent options to choose from. The most popular choice among DIY enthusiasts is the Zigbee USB stick coordinator, like the ConBee II or HUSBZB-1, which can be plugged directly into a Raspberry Pi or home server running Home Assistant.
For those seeking a more plug-and-play solution, the Samsung SmartThings hub offers great compatibility with various Zigbee devices and features an user-friendly interface. Another reliable option is the Philips Hue Bridge, though it works best with Hue products and has some limitations with third-party devices.
If you’re comfortable with technical setups, consider the Texas Instruments CC2531 or CC2652R USB coordinators. While they require initial flashing, they’re cost-effective and offer excellent performance. For beginners, the Amazon Echo devices with built-in Zigbee hubs (like the 4th gen Echo) provide a straightforward entry point into the Zigbee ecosystem.
Remember to check device compatibility before making your final choice, as some hubs work better with specific brands or device types than others.
Compatible Devices and Sensors
When diving into Zigbee DIY projects, you’ll be delighted to discover a wide range of compatible devices and sensors that can transform your home into a smart living space. Smart bulbs from brands like Philips Hue and IKEA TRÅDFRI are perfect starter devices, offering reliable performance and easy integration. Motion sensors and door/window contacts are essential components for creating DIY security solutions that keep your home safe.
Temperature and humidity sensors from manufacturers like Aqara and Sonoff provide accurate environmental monitoring, while smart plugs let you automate any plugged-in device. For lighting control, Zigbee-compatible switches and dimmers from brands like Third Reality and Lutron make it easy to modernize your existing setup.
Water leak detectors and smoke sensors add an extra layer of safety, while multi-purpose buttons and remote controls give you convenient ways to trigger custom automations. The best part? Most of these devices are affordable and work seamlessly together, making it easy to expand your system over time as your needs grow.
Setting Up Your First Zigbee Network
Hub Installation and Configuration
Setting up your Zigbee hub is the foundation of your DIY smart home journey. Start by choosing a compatible coordinator – popular options include the ConBee II or CC2531 USB stick. Once you have your coordinator, plug it into your home server or Raspberry Pi.
For Home Assistant users, install the ZHA (Zigbee Home Automation) integration through the interface. Navigate to Configuration > Integrations > Add Integration, and search for “ZHA.” Select your coordinator from the dropdown menu and choose the correct port.
If you’re using a CC2531 stick, you’ll need to flash it first with the latest Zigbee firmware. Don’t worry – there are user-friendly flashing tools available that make this process straightforward. Once flashed, your coordinator should be recognized automatically.
After installation, place your hub in a central location in your home, away from large metal objects or thick walls that could interfere with the signal. Test the connection by adding a simple device like a smart bulb or sensor. You should see it appear in your hub’s interface within minutes.
Remember to keep your hub powered continuously to maintain your Zigbee network’s stability. If you’re using a Raspberry Pi, consider adding a UPS backup to prevent network disruptions during power outages.
Adding Your First Devices
Adding your first Zigbee devices is an exciting step in creating a beginner-friendly home automation setup. Start by ensuring your Zigbee hub is powered on and ready to pair. Most hubs have a dedicated pairing button or mode – press it to begin the discovery process.
Next, take your new Zigbee device and locate its pairing button (usually marked with a small icon). Place the device within 6-10 feet of your hub during initial setup for the best connection. Press and hold the device’s pairing button until you see its indicator light start blinking.
Watch your hub’s interface (whether through an app or web portal) as it discovers the new device. This typically takes 30-60 seconds. Once connected, your device will appear in the interface with a green status or checkmark.
Give your device a meaningful name (like “Living Room Light” or “Kitchen Motion Sensor”) and assign it to the appropriate room in your system. Test the device’s basic functions to ensure everything’s working correctly before moving it to its final location.
Common DIY Zigbee Projects for Beginners
Ready to start your Zigbee DIY journey? Let’s explore some beginner-friendly projects that’ll help you build your essential DIY skills while making your home smarter. These projects are perfect starting points that offer practical benefits without overwhelming complexity.
Smart Lighting Control: Begin with a simple light automation project using Zigbee bulbs and a motion sensor. Place the sensor in your hallway or bathroom to trigger lights automatically when movement is detected. This project requires minimal setup and provides immediate utility.
Temperature Monitoring System: Create a basic climate monitoring setup using Zigbee temperature sensors in different rooms. Connect them to a hub to track temperature variations throughout your home and automate your heating or cooling systems accordingly.
Door and Window Security: Install Zigbee contact sensors on your doors and windows to receive notifications when they’re opened or closed. This starter project helps you understand basic sensor integration while enhancing your home security.
Smart Plant Care Station: Set up a moisture sensor with a Zigbee relay to monitor your plants’ water needs. When soil moisture drops below a certain level, you’ll receive an alert on your phone – perfect for both new gardeners and tech enthusiasts.
These projects require basic components like a Zigbee hub, sensors, and smart devices. Start with one project and gradually expand your system as your confidence grows. Remember to read device manuals carefully and join online DIY communities for support and inspiration.
Embarking on your Zigbee DIY journey opens up a world of possibilities for creating a smarter, more automated home. As we’ve explored throughout this guide, Zigbee technology offers reliable, affordable, and user-friendly solutions for home automation enthusiasts of all skill levels. Whether you’re starting with a simple smart bulb setup or planning a comprehensive home automation system, the key is to start small and gradually expand your network as your confidence grows.
Remember that the Zigbee community is vast and supportive, with countless resources and fellow DIYers ready to help you overcome challenges. Don’t be afraid to experiment with different devices and configurations – that’s the beauty of DIY smart home automation. The initial investment in a Zigbee hub and a few basic devices will quickly pay off as you discover the convenience and efficiency of your automated systems.
Take the first step today by choosing your hub and planning your first project. With patience, creativity, and the knowledge you’ve gained from this guide, you’re well-equipped to transform your living space into a modern, automated haven that works perfectly for your lifestyle.