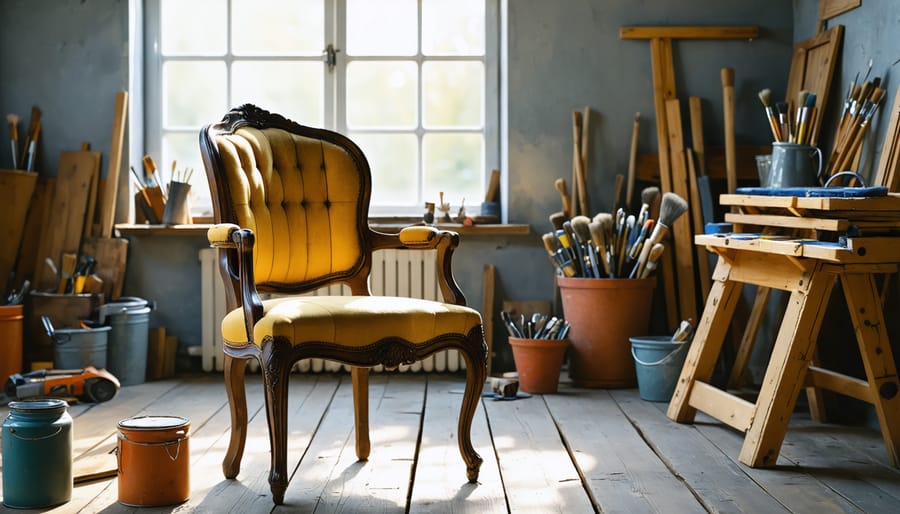
Transform outdated furniture into stunning centerpieces through sustainable furniture transformation techniques that breathe new life into cherished pieces. Strip away years of wear using natural citrus-based removers, revealing original wood grain without harsh chemicals. Sand surfaces progressively with 80-grit to 220-grit paper, creating the perfect foundation for eco-friendly finishes. Apply water-based stains and non-toxic sealants in thin, even coats to protect while maintaining authenticity.
Master restoration fundamentals by starting with smaller pieces like side tables or chairs, practicing essential skills before tackling larger projects. Replace damaged hardware with vintage finds from architectural salvage yards, maintaining period authenticity while reducing waste. Reinforce loose joints using traditional woodworking techniques – mortise and tenon repairs, doweling, and natural hide glue deliver lasting results without modern synthetic adhesives.
These time-tested restoration methods not only preserve precious materials but also create unique, character-rich pieces that outshine mass-produced alternatives. With proper technique and patience, transform forgotten furniture into functional art that tells a story while supporting environmental consciousness.
Essential Tools and Materials for Sustainable Restoration

Eco-Friendly Finishing Products
When it comes to giving your restored furniture the perfect finish, choosing eco-friendly materials isn’t just better for the environment – it’s often healthier for your home too. Natural oils like linseed, tung, and hemp oil provide beautiful, lasting protection while letting the wood’s natural character shine through. These oils penetrate deep into the wood, enhancing its grain pattern and creating a warm, rich finish that improves with age.
Beeswax and carnauba wax are excellent natural alternatives to synthetic sealants. They create a protective layer that’s water-resistant and gives furniture a subtle, natural sheen. Mix them with a bit of natural oil for an even more durable finish. For colored finishes, look for milk paint or natural clay-based paints, which are non-toxic and biodegradable.
Don’t forget about natural stains made from coffee, tea, or vinegar solutions. These can create beautiful color variations without harsh chemicals. For extra protection, consider shellac, a natural resin secreted by lac bugs, which creates a durable, non-toxic finish that’s been used for centuries.
Remember to test any finish on a small, hidden area first, and always work in a well-ventilated space, even with natural products.
Basic Tool Kit Essentials
Before diving into your furniture restoration project, gathering the right tools is essential for success. Here’s your must-have basic toolkit:
A quality sandpaper set with various grits (60-220) forms the foundation of your restoration work. Pair this with a sanding block and electric sander for larger surfaces. You’ll need several screwdrivers (both flathead and Phillips) and a hammer for dismantling and reassembly.
For surface preparation and finishing, include putty knives in different sizes, wood filler, and a set of clean rags or microfiber cloths. Don’t forget protective gear: safety goggles, work gloves, and a dust mask are non-negotiable.
Other essential items include:
– Measuring tape and pencil
– Wood glue
– Paint brushes and foam rollers
– Wire brush for removing old finishes
– Utility knife
– Level
– Cleaning supplies
For more specialized projects, consider adding:
– Wood clamps
– Paint scraper
– Pliers set
– Wood chisel
– Furniture wax applicator
Store these tools in a dedicated toolbox to keep them organized and protected. While you don’t need to buy everything at once, having these basics will help you tackle most restoration projects confidently.
Preparation and Assessment
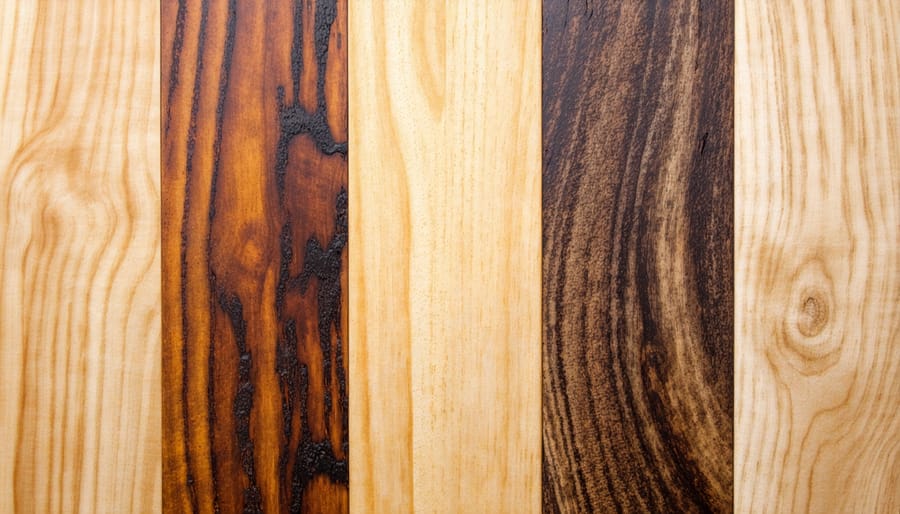
Identifying Wood Types
Before diving into restoration work, it’s essential to identify the type of wood you’re working with. Start by examining the wood grain pattern – oak typically shows prominent straight lines with distinctive rays, while maple features a more subtle, uniform grain. Cherry wood has a smooth, reddish-brown appearance with a fine, straight grain pattern.
To test the wood type, check its hardness by gently pressing your fingernail into an inconspicuous spot. Softwoods like pine will dent easily, while hardwoods like oak resist marking. The weight can also be telling – mahogany and walnut are notably heavier than cedar or pine.
Look at the end grain (the cross-section of the wood) for more clues. Ring-porous woods like oak show clear annual growth rings, while diffuse-porous woods like maple have less distinct patterns. For painted pieces, carefully sand a small hidden area to reveal the natural wood beneath.
Remember that many vintage pieces use wood veneers over less expensive base materials. Check the edges and corners for telltale signs of thin wood layers peeling away from the core.
Damage Assessment
Before diving into any restoration project, it’s crucial to thoroughly assess your furniture piece to determine the extent of repairs needed. Start by examining the item in good lighting, running your hands along all surfaces to detect any damage that might not be immediately visible to the eye.
Look for common issues like loose joints, wobbly legs, or missing pieces. Check for water damage, which often appears as dark spots or warped areas. Inspect for wood rot by gently pressing suspected areas with a flathead screwdriver – soft, spongy sections indicate rot. Pay special attention to veneer surfaces, noting any bubbling, peeling, or missing sections.
Don’t forget to test all moving parts like drawers, doors, and hinges. Listen for squeaks or grinding sounds that might indicate worn mechanisms. Make note of any deep scratches, dents, or gouges that will need filling. For upholstered pieces, check the fabric condition and inspect the underlying structure for broken springs or frame damage.
Create a detailed list of all issues found, ranking them from most to least urgent. This assessment will help you plan your restoration strategy and gather the right materials for the job.
Sustainable Restoration Techniques
Surface Cleaning and Stripping
When it comes to cleaning and stripping old furniture, you don’t need harsh chemicals to achieve professional results. Let’s explore some gentle yet effective methods that are both environmentally friendly and safe for your health.
Start with a simple cleaning solution of warm water and mild castile soap. This combination works wonders on most surface dirt and grime. For stubborn areas, create a paste using baking soda and water, gently rubbing in circular motions with a soft cloth. White vinegar diluted with water (1:1 ratio) can tackle tough stains and help neutralize odors.
For paint removal, consider heat guns or infrared paint strippers as alternatives to chemical strippers. These tools soften old finishes without harmful fumes. Another natural option is using citrus-based paint strippers, which are biodegradable and much gentler than traditional methods. Always test in an inconspicuous area first.
When you’re ready to apply new non-toxic furniture finishes, prepare the surface by sanding with progressively finer grits. Between cleaning stages, wipe surfaces with a tack cloth to remove dust and debris.
Remember to work in a well-ventilated area, even with natural products. Keep a spray bottle of clean water handy to control dust during sanding, and always wear appropriate protective gear like gloves and a dust mask.
Repairs and Reinforcement
Before diving into cosmetic improvements, it’s crucial to address any structural issues in your furniture. Start by examining all joints, legs, and weight-bearing areas for loose connections or damage. For wobbly chairs or tables, tighten all screws and bolts, replacing any that are stripped or rusty. If you encounter loose wooden joints, clean out old glue residue before applying fresh wood glue and clamping the pieces together for 24 hours.
For broken parts, wood epoxy can be your best friend. Mix it according to package instructions and use it to fill cracks, rebuild damaged corners, or even recreate missing pieces. Once cured, sand the epoxy smooth to match the surrounding surface. When dealing with split wood, apply wood glue into the crack using a thin piece of cardboard, then secure with clamps until completely dry.
Missing or damaged support pieces can be replaced using similar wood types. Make sure to cut replacement pieces to exact measurements and sand them to match the original finish. For added stability in chairs, install corner blocks at joint intersections using wood glue and screws. If you’re working with upholstered furniture, check the frame for any cracks or breaks before addressing the fabric.
Remember to reinforce high-stress areas with additional support brackets or blocks, especially in frequently used pieces. This preventive step will extend the life of your restoration work and ensure the furniture remains stable for years to come.
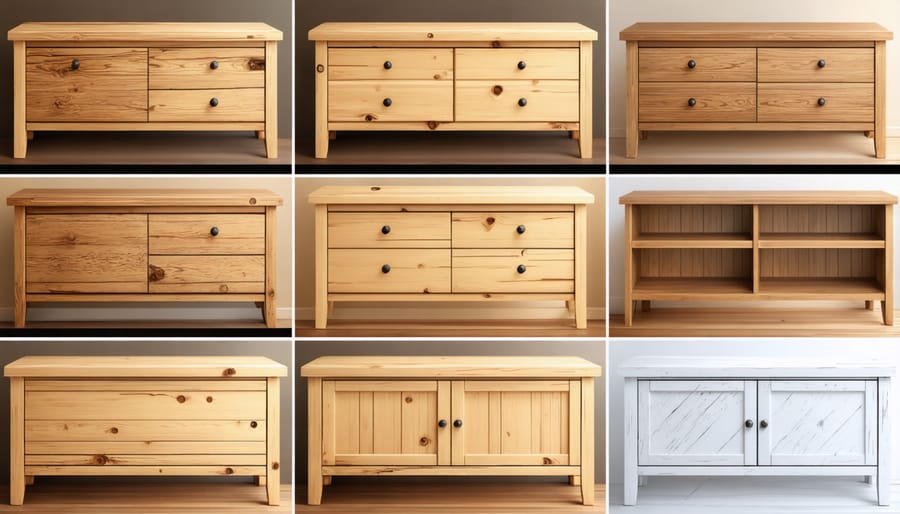
Natural Finishing Methods
Looking to give your furniture a beautiful finish while being kind to the environment? Natural finishing methods offer excellent alternatives to chemical-heavy products. One of the most popular eco-friendly options is using natural oils like linseed, tung, or walnut oil. These oils penetrate the wood deeply, providing protection while enhancing its natural beauty.
For a rich, warm stain, try brewing strong coffee or tea and applying it with a soft cloth. Multiple applications will create deeper tones, and you can seal it with beeswax for lasting protection. Another fantastic natural staining technique involves using vinegar and steel wool. Simply soak steel wool in white vinegar for 24 hours, and you’ll have a unique aging solution that creates beautiful patinas on wood.
Plant-based dyes offer another sustainable approach. Beetroot juice creates lovely pink hues, while turmeric produces golden tones. Mix these natural dyes with water and apply them using a clean cloth, building up layers until you achieve your desired color depth.
For finishing, beeswax mixed with a little olive oil makes an excellent natural polish. Apply it in thin layers using circular motions, then buff with a clean cloth for a subtle sheen. Not only do these methods minimize environmental impact, but they’re also safer for your home and family, producing beautiful results that improve with age.
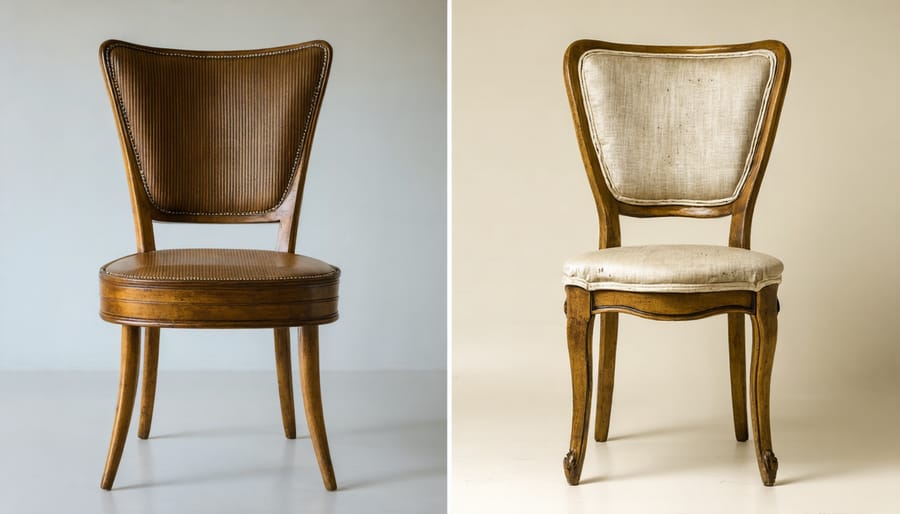
Upholstery Restoration
Breathing new life into old upholstery doesn’t have to harm the environment. When choosing replacement fabrics, consider sustainable options like organic cotton, hemp, or recycled polyester. These materials not only reduce environmental impact but often prove more durable than conventional alternatives.
Before starting your upholstery project, strip the old fabric carefully – you can use it as a pattern for cutting new pieces. Keep all the original pieces labeled and take photos of the disassembly process to guide reassembly. For padding, opt for natural latex foam or organic wool batting instead of synthetic materials.
When it comes to techniques, start with the most hidden areas first, like the back of the piece, to build confidence. Use a pneumatic staple gun for professional results, working from the center outward to avoid wrinkles. For corners and curves, make small pleats or gathers to achieve a smooth finish.
For sustainable cleaning and maintenance, mix equal parts white vinegar and water for a natural upholstery cleaner. Consider treating your fabric with natural stain repellents like beeswax-based products to extend its life. If you’re working with vintage pieces, preserve any original materials that are still in good condition – this is the ultimate form of sustainability.
Remember to always test your chosen fabric for colorfastness and durability before committing to the full project. Some eco-friendly fabrics may require special care, so research maintenance requirements beforehand.
Maintenance Tips
Regular Care Routine
Establishing a consistent sustainable furniture maintenance routine is crucial for preserving your restored pieces. Start with daily dusting using a soft microfiber cloth to prevent particle buildup that can scratch surfaces. For wooden furniture, make it a habit to wipe up spills immediately to avoid water damage and staining.
Weekly care should include a thorough cleaning with appropriate natural cleaners. Mix equal parts white vinegar and olive oil for wooden surfaces, applying with a soft cloth in the direction of the wood grain. For upholstered pieces, vacuum weekly using a brush attachment, paying special attention to crevices and seams.
Every month, inspect your furniture for loose joints, scratches, or signs of wear. Tighten any loose screws or hardware, and touch up minor scratches with matching wood markers or natural wax fillers. In humid environments, use silica gel packets or natural dehumidifiers to protect wooden pieces from moisture damage.
Position your furniture away from direct sunlight and heat sources to prevent fading and warping. Use coasters, placemats, and protective pads to guard against scratches and heat damage. For leather pieces, apply a natural leather conditioner every three months to prevent cracking and maintain suppleness.
Remember, prevention is always better than cure. These simple daily and weekly habits will significantly extend the life of your restored furniture while maintaining its beauty.
Natural Cleaning Solutions
When it comes to cleaning your restoration projects, you don’t need harsh chemicals to achieve fantastic results. Creating your own natural cleaning solutions is not only better for the environment but also safer for your furniture and family.
Here’s a simple recipe for an all-purpose wood cleaner: Mix equal parts white vinegar and water, then add a few drops of lemon essential oil. This solution effectively removes dirt and grime while being gentle on wood surfaces. For stubborn stains, create a paste using baking soda and water, applying it gently with a soft cloth.
To tackle grease and buildup on wooden furniture, try this degreasing mixture: Combine 2 tablespoons of olive oil with 1/4 cup of white vinegar. This solution cleans while conditioning the wood, preventing it from drying out during the restoration process.
For metal hardware, make a natural rust remover by creating a paste with equal parts lemon juice and cream of tartar. Apply this to rusty areas, let it sit for 30 minutes, then wipe clean with a damp cloth.
Remember to always test these solutions on a small, inconspicuous area first. Store your homemade cleaners in labeled glass containers and use within a month for best results. These eco-friendly alternatives are just as effective as commercial products while being kinder to both your furniture and the planet.
As we’ve explored throughout this guide, furniture restoration is more than just a hobby – it’s a sustainable way to breathe new life into cherished pieces while reducing waste and expressing your creativity. By following the techniques and tips we’ve shared, you can transform dated or damaged furniture into stunning statement pieces that tell a story.
Remember that successful restoration starts with proper preparation, from careful cleaning to choosing the right tools and materials. Whether you’re stripping old paint, repairing structural damage, or applying new finishes, taking your time and paying attention to detail will yield the best results.
The sustainable aspects of furniture restoration cannot be overstated. By choosing to restore rather than replace, you’re not only saving money but also reducing landfill waste and preventing the need for new manufacturing. Consider using eco-friendly products, reclaimed materials, and non-toxic finishes whenever possible to make your restoration projects even more environmentally conscious.
Don’t be afraid to start small and gradually take on more challenging projects as your skills improve. Each piece you restore will teach you something new and help you develop your craftsmanship. Keep experimenting with different techniques and styles while maintaining respect for the original piece’s character and history.
With patience, creativity, and the right approach, you can turn furniture restoration into a rewarding hobby that benefits both your home and the planet.