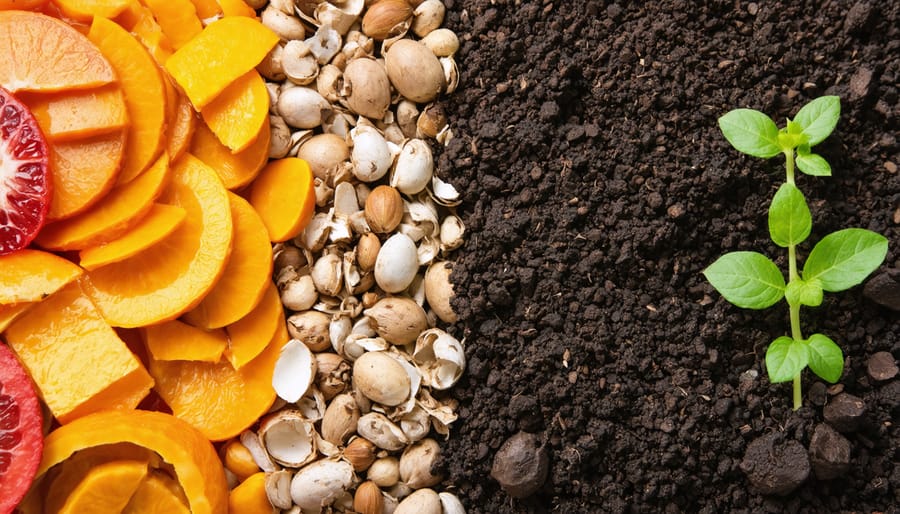
Transform kitchen scraps into garden gold with a simple DIY composting system that takes just 30 minutes to set up. Start by drilling drainage holes in the bottom of a large plastic bin, layer brown materials (dried leaves, cardboard) with green materials (vegetable scraps, coffee grounds) in a 3:1 ratio, and maintain moisture levels similar to a wrung-out sponge. As part of smart sustainable home practices, composting transforms up to 30% of household waste into nutrient-rich soil while reducing landfill impact.
No special tools or expertise needed – simply collect kitchen scraps in a countertop container, add them to your bin weekly, and give the pile a quick turn with a garden fork. Within 3-6 months, you’ll have dark, crumbly compost ready to enrich your garden beds and potted plants. Keep it simple by focusing on common materials like fruit and vegetable scraps, coffee grounds, eggshells, and yard waste while avoiding meat, dairy, and oily foods.
Setting Up Your First Compost System
The Bucket Method: Perfect for Small Spaces
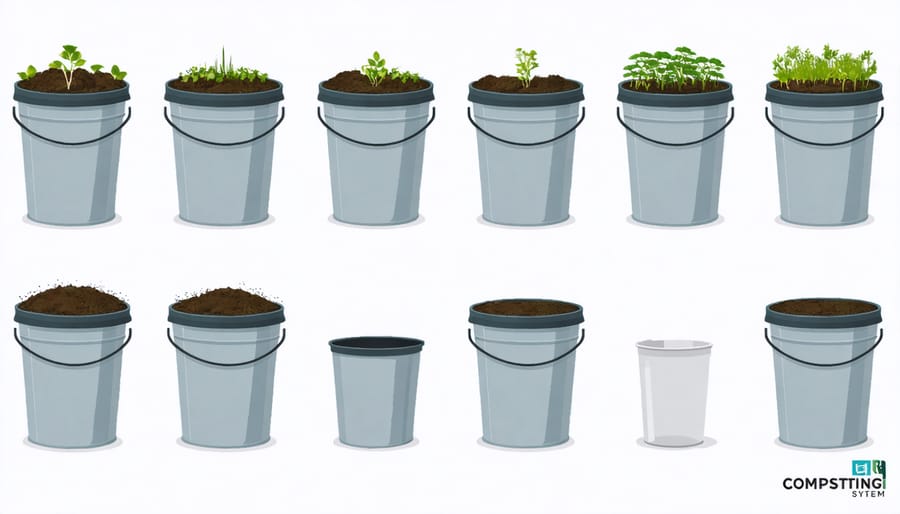
Looking for an eco-friendly DIY project that’s perfect for apartment living? The bucket method is your answer! All you need is a 5-gallon bucket with a tight-fitting lid, a drill, and about 15 minutes to get started.
First, drill 10-15 small holes (about 1/4 inch) in the bottom of your bucket for drainage and a few along the sides near the bottom for airflow. Place your bucket on a tray or shallow container to catch any liquid that might drain out.
Layer your materials starting with a handful of brown materials (dried leaves, paper, or cardboard) at the bottom. Add your kitchen scraps (greens) as you collect them, always covering them with a layer of browns. Aim for a 3:1 ratio of browns to greens.
Keep your bucket in a convenient spot – under the sink, on a balcony, or in a utility closet. When adding scraps, give the contents a quick stir with a garden trowel to promote decomposition. If the mixture seems too wet, add more browns; if it’s too dry, spritz with water.
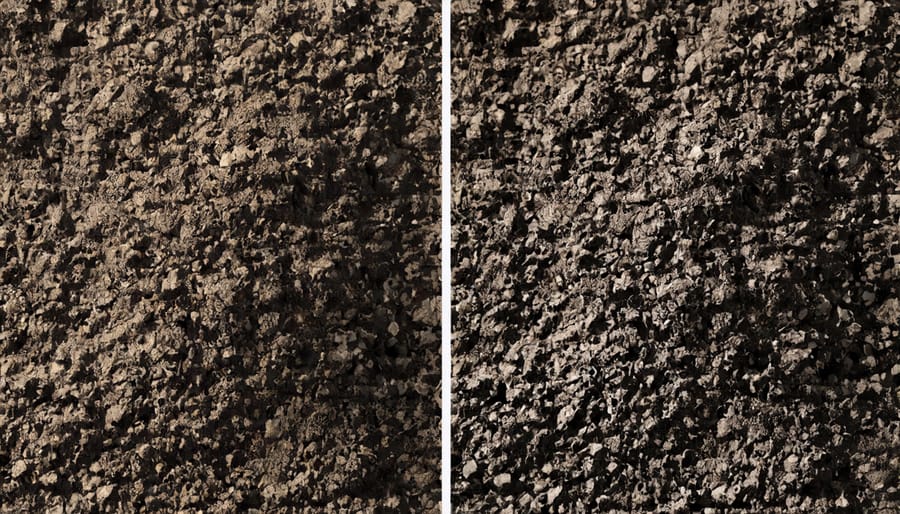
Your compost should be ready in 2-3 months. When the bucket is full, let it sit for a few weeks while you start a second bucket. The finished compost should be dark, crumbly, and smell like fresh earth.
Pile Composting: The No-Container Approach
For those who prefer a straightforward approach to composting, the pile method is about as simple as it gets. Start by choosing a level, well-draining spot in your yard that’s at least 3 feet wide and long. Begin your pile with a layer of brown materials like dry leaves, straw, or cardboard torn into small pieces. Add your green materials, such as grass clippings and kitchen scraps, aiming for a ratio of roughly 3 parts brown to 1 part green.
Keep building your pile in alternating layers until it reaches about 3 feet high. To maintain proper decomposition, ensure your pile stays as moist as a wrung-out sponge. If it feels too dry, sprinkle some water; if it’s too wet, add more brown materials. Turn your pile every few weeks using a pitchfork or garden fork to introduce oxygen and speed up the breakdown process.
While this method requires more space than contained systems, it’s incredibly flexible and cost-free. You can easily expand or shrink your pile as needed, and there’s no container to maintain. For best results, cover your pile with a tarp during heavy rains to prevent waterlogging and maintain optimal moisture levels.
Pro tip: Keep a small container in your kitchen for collecting scraps, and empty it into your pile every few days to make the process more convenient.
What Goes In (And What Stays Out)
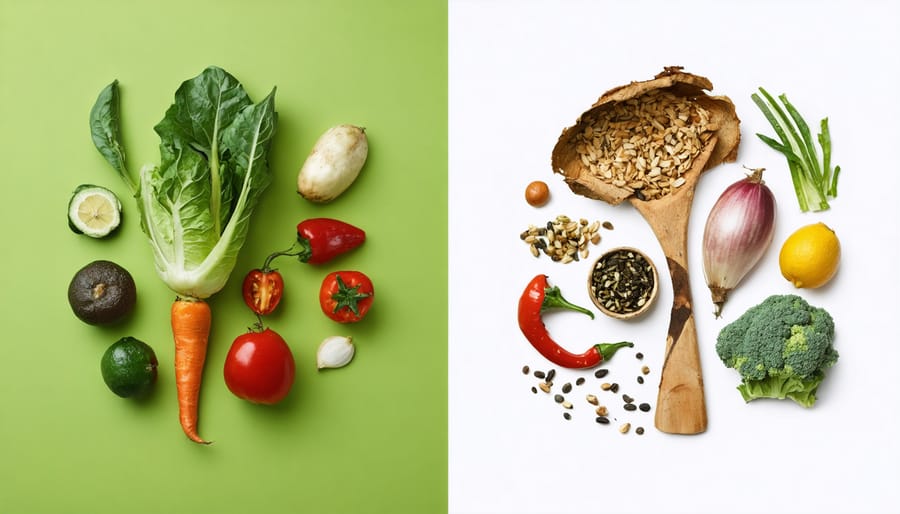
Green Materials: Your Kitchen’s Contribution
Your kitchen is a goldmine of nitrogen-rich materials perfect for composting! These “green materials” are essential for creating nutrient-rich compost that your garden will love. Start collecting fruit and vegetable scraps – those apple cores, banana peels, and carrot tops are composting gold. Coffee grounds and tea bags are excellent additions too, providing both nitrogen and beneficial minerals.
Don’t forget about those forgotten leftovers (minus meat and dairy) – cooked vegetables, stale bread, and pasta can all go into your compost bin. Crushed eggshells are another fantastic addition, offering calcium while helping with drainage. Even those paper towels and napkins you’ve used for cleaning fruit and vegetables can join the mix.
Quick tip: Keep a small container with a lid on your kitchen counter or under the sink to collect these scraps throughout the day. This makes it super convenient to gather materials and prevents multiple trips to your compost bin. Remember to chop larger pieces into smaller chunks – they’ll break down faster and create better compost.
The key is maintaining a good balance with your brown materials, but we’ll get to that in the next section!
Brown Materials: The Vital Balance
Brown materials, also known as carbon-rich materials, are essential for creating healthy compost. The good news is that these materials are incredibly easy to find right in your own home and yard! Dried leaves are a composting gold mine – simply rake them up and store them in bags or bins for year-round use. Paper products like cardboard boxes, newspaper, and paper bags work wonderfully too – just remember to tear them into smaller pieces first.
Your kitchen is another treasure trove of brown materials. Coffee grounds and filters, paper tea bags, nutshells, and even paper towel rolls can all go into your compost pile. From your yard maintenance, you can add pine needles, small twigs, and dried grass clippings. Even sawdust from untreated wood makes an excellent addition.
Pro tip: Keep a dedicated bin or paper bag in your garage for collecting these materials. This makes it easy to maintain the right balance in your compost pile throughout the year. Aim for roughly three parts brown materials to one part green materials for optimal composting results.
Remember that brown materials help prevent your compost from becoming too wet or smelly, while providing the carbon necessary for proper decomposition. They’re truly the unsung heroes of successful composting!
Maintaining Your Compost Without Breaking a Sweat
The 5-Minute Weekly Maintenance Routine
Keeping your compost healthy doesn’t have to be time-consuming. With just 5 minutes a week, you can maintain a thriving compost pile that breaks down efficiently and stays odor-free. Here’s your simple weekly routine:
1. Give it a quick turn (2 minutes)
Using a pitchfork or compost aerator, gently mix the top layer of your pile. This introduces oxygen, which helps beneficial bacteria thrive and speeds up decomposition. No need to turn the entire pile – just the top 12 inches will do.
2. Check moisture levels (1 minute)
Grab a handful of compost from about 6 inches deep. Squeeze it gently – it should feel like a wrung-out sponge. If it’s too dry, add a bit of water with your garden hose. If it’s too wet, mix in some dry brown materials like leaves or shredded paper.
3. Add fresh materials (1 minute)
Layer your weekly kitchen scraps with an equal amount of brown materials. Remember the sandwich method: browns, greens, browns. This simple layering prevents odors and keeps your pile balanced.
4. Quick visual inspection (1 minute)
Look for any potential issues like pest activity or excessive moisture. Remove any problematic items like meat or dairy that might have accidentally made their way into your pile.
That’s it! With this simple routine, you’ll maintain a healthy compost pile that transforms your kitchen scraps into garden gold with minimal effort.
Quick Fixes for Common Problems
Every composter faces challenges, but most have simple solutions. If your compost bin develops an unpleasant odor, it’s usually due to too much moisture or too many “green” materials. Add more brown materials like dried leaves or shredded paper, and ensure proper aeration by turning the pile regularly. A well-balanced compost shouldn’t smell bad – it should have an earthy aroma like forest soil.
Dealing with unwanted visitors? While some insects and organisms are beneficial for decomposition, others can be problematic. For persistent pest issues, try incorporating natural pest control solutions like covering fresh food scraps with brown materials or using a closed bin system.
If your materials aren’t breaking down quickly enough, check these key factors: moisture (should feel like a wrung-out sponge), particle size (smaller pieces decompose faster), and balance of materials (aim for 3:1 brown to green ratio). Adding a handful of existing compost or garden soil can introduce beneficial microorganisms to speed up decomposition.
For a sluggish pile during colder months, try insulating your bin with straw bales or cardboard. You can also continue adding materials throughout winter – they’ll break down more slowly but resume active decomposition when temperatures rise.
Using Your Finished Compost
Congratulations on creating your own nutrient-rich compost! Now comes the rewarding part – putting this black gold to work in your garden and indoor plants. Your homemade compost is perfect for enriching soil and supporting healthy plant growth in various ways.
For outdoor gardens, mix your compost into the top 4-6 inches of soil before planting. A good rule of thumb is to use about 1-2 inches of compost as a soil amendment. When working with established plants, gently work the compost into the soil around their base, being careful not to disturb the roots. This approach is particularly effective as part of smart landscape solutions that prioritize sustainability.
For container gardens and houseplants, blend one part compost with three parts potting soil to create a nutrient-rich growing medium. You can also use compost as a top dressing throughout the growing season – simply spread a thin layer (about ½ inch) around your plants every few months.
Here are some quick ways to put your compost to work:
– Use it as a natural mulch around trees and shrubs
– Brew compost tea for a gentle liquid fertilizer
– Add it to your lawn as a natural fertilizer (spread thinly)
– Mix it into new garden beds or raised planters
– Use it to enrich soil for seed starting
Remember that a little goes a long way – compost is concentrated in nutrients, so you don’t need to use too much. Your plants will thank you with vibrant growth and better yields!
Starting your composting journey doesn’t have to be complicated or overwhelming. As we’ve explored throughout this guide, creating your own compost bin can be as simple or sophisticated as you choose, making it accessible for everyone, regardless of space or experience level.
Remember the key ingredients for successful composting: maintaining a good balance of green and brown materials, ensuring proper moisture levels, and providing adequate aeration. Whether you’ve chosen a simple pile in your backyard, a DIY bin made from pallets, or a compact kitchen counter solution, the principles remain the same.
The benefits of composting extend far beyond your garden. You’re not just creating rich, nutrient-dense soil for your plants; you’re also reducing household waste, lowering your carbon footprint, and contributing to a more sustainable future. Plus, the money you’ll save on store-bought fertilizers is an added bonus!
Don’t feel pressured to perfect your composting system immediately. Start small, experiment with different methods, and adjust as you learn what works best for your lifestyle. The most important step is simply beginning.
Ready to start your composting adventure? Gather your materials, choose your preferred method, and dive in. Your garden – and the planet – will thank you for it. Happy composting!