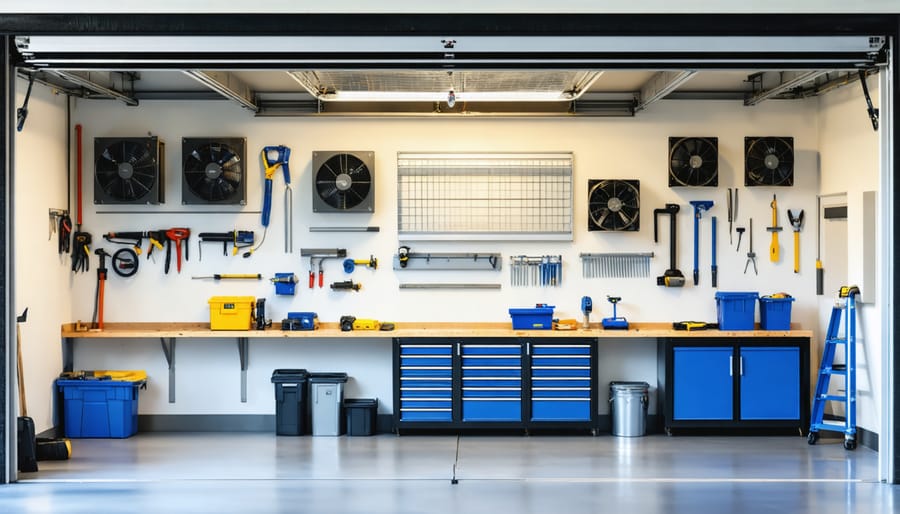
Transform your garage into a healthier, more organized garage workspace with a custom ventilation system that removes harmful fumes, regulates temperature, and protects your tools from moisture damage. Building your own garage ventilation system not only saves money but also gives you complete control over airflow management, ensuring your workspace meets your specific needs.
Installing a proper ventilation system becomes crucial when working with paints, solvents, or running power tools that create dust and debris. A well-designed DIY setup typically costs 40-60% less than professional installation while delivering comparable performance. Whether you’re a weekend mechanic, woodworking enthusiast, or simply need better air circulation in your storage space, this guide will walk you through creating an efficient, code-compliant ventilation system using readily available materials from your local hardware store.
Learn how to calculate proper air exchange rates, select appropriate fans, and position intake and exhaust vents for optimal airflow – all while maintaining your garage’s structural integrity and avoiding common installation pitfalls that could compromise your system’s effectiveness.
Why Your Garage Needs Better Ventilation
Common Garage Air Quality Issues
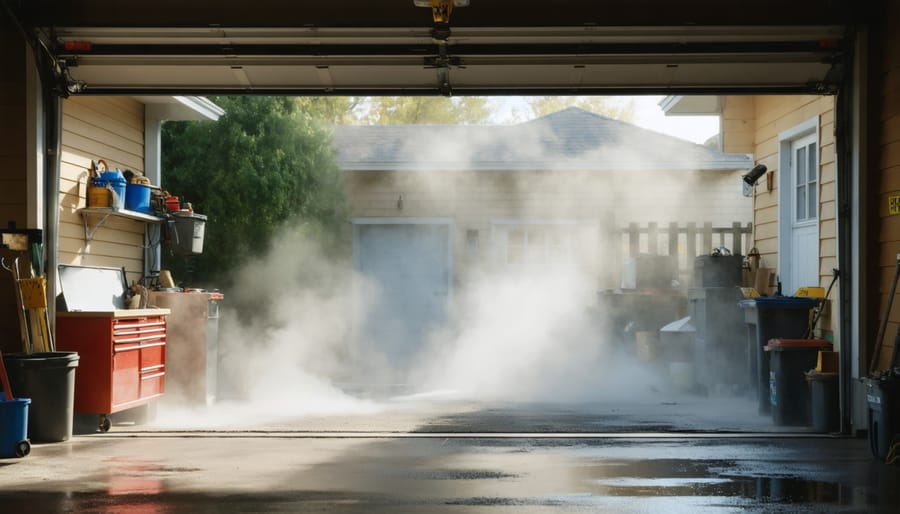
Your garage can harbor several air quality issues that affect both comfort and safety. Vehicle exhaust fumes are often the primary concern, releasing carbon monoxide and other harmful gases that can linger in poorly ventilated spaces. Paint fumes and chemical vapors from stored products like cleaners, solvents, and pesticides can also accumulate, creating an unhealthy environment.
Dust is another common challenge, especially if you use your garage as a workshop. Wood dust from sawing and sanding, metal particles from grinding, and even concrete dust from drilling can remain suspended in the air, potentially causing respiratory issues. This becomes particularly problematic during extended project work.
Humidity presents its own set of problems. Poor ventilation can trap moisture, leading to musty odors and creating ideal conditions for mold and mildew growth. This is especially true in regions with high humidity or if you frequently wash your car in the garage. During winter months, condensation from warm vehicles entering a cold garage can exacerbate moisture issues.
These air quality concerns not only affect your comfort while working but can also impact the condition of tools and stored items in your garage.
Benefits of Proper Ventilation
A well-ventilated garage creates a safer, more comfortable workspace for all your DIY projects. Proper airflow helps remove harmful fumes from paints, solvents, and engine exhaust, reducing your exposure to dangerous chemicals. This is especially important when working on projects that involve strong-smelling materials or power tools that create dust.
Good ventilation also helps protect your stored tools and equipment from moisture damage. By maintaining consistent air circulation, you’ll prevent rust formation on metal tools and reduce the risk of mold growth on wooden handles and storage surfaces. This means your valuable tools will last longer and perform better when you need them.
Temperature control is another major advantage. A properly ventilated garage stays cooler in summer and helps prevent excessive humidity in winter. This creates a more pleasant environment for working on projects year-round and helps preserve temperature-sensitive items like paints and adhesives.
For gardening enthusiasts, proper ventilation helps dry out wet equipment and prevents that musty smell that can develop when storing damp tools.
Planning Your DIY Ventilation System
Essential Materials and Tools
Before diving into your garage ventilation project, gathering the right materials is one of those essential home repair skills that will set you up for success. Here’s everything you’ll need, along with some budget-friendly alternatives to make this one of your most cost-effective home improvements.
Primary Materials:
– Exhaust fan (12″ or 16″) – $50-150
– Ductwork and vents – $30-60
– Weather-resistant cover – $15-25
– Mounting brackets – $10-20
– Electrical wire and junction box – $20-30
– Thermostat control (optional) – $25-40
Essential Tools:
– Power drill with hole saw attachment
– Measuring tape
– Level
– Screwdrivers
– Wire strippers
– Safety equipment:
• Safety glasses
• Work gloves
• Dust mask
Budget-Friendly Alternatives:
– Consider a gable-mounted fan instead of a roof vent ($30-80)
– Use flexible ducting instead of rigid ($15-25)
– Look for factory seconds or renovation center deals
– Borrow specialized tools from neighbors or tool libraries
Total estimated cost: $150-350, depending on choices and existing tools. Remember to check local building codes before purchasing materials, as requirements may vary by location.
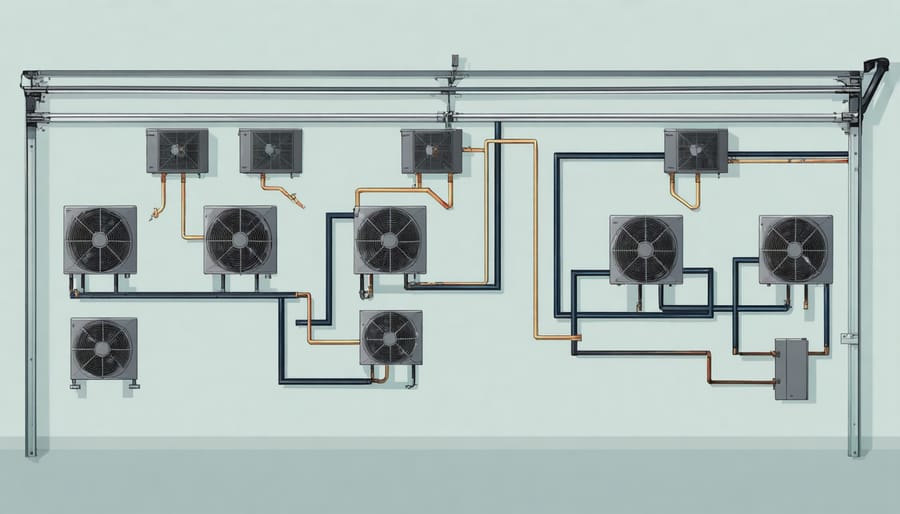
Choosing the Right Fan Size
Selecting the right fan size is crucial for effective garage ventilation. To determine your ideal fan size, start by calculating your garage’s cubic footage – multiply the length by width by height. For proper ventilation, you’ll want to exchange the air in your garage 4-6 times per hour.
Here’s a simple calculation method: Take your garage’s cubic footage and multiply it by the number of air changes per hour you want (let’s use 5 as an average). Then divide that number by 60 to get the cubic feet per minute (CFM) rating you need.
For example, a typical two-car garage measuring 20′ x 20′ x 8′ = 3,200 cubic feet
3,200 x 5 air changes = 16,000 cubic feet per hour
16,000 ÷ 60 = 267 CFM
Based on this calculation, you’d want a fan rated for at least 270 CFM. However, it’s wise to go slightly larger to account for any air resistance from ductwork or filters. A fan rated for 300-350 CFM would be ideal in this scenario.
Pro tip: Consider getting a variable-speed fan, which allows you to adjust the airflow based on your needs. This is particularly useful if you use your garage for different activities that require varying levels of ventilation.
Remember that multiple smaller fans can sometimes work better than one large fan, especially for ensuring even air distribution throughout your space.
Step-by-Step Installation Guide
Preparing Your Garage
Before diving into the installation process, it’s crucial to properly prepare your garage space for a new ventilation system. Start by clearing the area where you’ll be working, removing any stored items, vehicles, or equipment that might obstruct your access to walls and ceiling.
Next, conduct a thorough inspection of your garage’s structure. Look for any existing damage, such as cracks in the walls or ceiling, water damage, or signs of mold. These issues should be addressed before installing ventilation components. Pay special attention to electrical wiring locations – you’ll need to work around these safely.
For your safety, gather essential protective equipment: safety glasses, a dust mask, work gloves, and sturdy footwear. If you’ll be working at height, ensure you have a stable ladder and someone to spot you.
Take accurate measurements of your garage space, including ceiling height, wall lengths, and potential vent locations. This information will help you determine the optimal placement for intake and exhaust vents. Consider natural airflow patterns and identify the best spots for maximum ventilation efficiency.
Clean the work areas thoroughly, especially where you’ll be cutting or mounting equipment. Remove cobwebs, dust, and debris that could interfere with installation or pose a fire hazard when using power tools.
Finally, check local building codes and regulations regarding garage ventilation. Some areas may have specific requirements for vent placement or minimum airflow rates that you’ll need to follow.
Installing the Exhaust Fan
Now that you’ve prepared the installation site, let’s mount your exhaust fan. Start by having a helper hold the fan in position while you mark the mounting holes on your wall or ceiling. If you’re installing on drywall, use a stud finder to locate the nearest studs – you’ll want to secure at least two mounting points into solid wood.
Pre-drill your mounting holes using a drill bit slightly smaller than your mounting screws. If you’re mounting between studs, insert wall anchors rated for the weight of your fan. Position the fan and secure it with the appropriate screws, making sure it’s level and firmly attached.
Before wiring, turn off power at the circuit breaker – safety first! Remove the fan’s electrical cover plate to access the wiring compartment. You’ll typically find three wires: black (power), white (neutral), and green or bare copper (ground). Strip about ½ inch of insulation from your supply wires if needed.
Connect matching wires using wire nuts: black to black, white to white, and green/bare copper to green. Gently twist the wire nuts clockwise until secure, then give each connection a gentle tug to ensure they’re tight. Tuck the wires neatly into the electrical box and replace the cover plate.
Pro tip: Apply a bead of silicone caulk around the fan’s housing where it meets the wall or ceiling to prevent air leaks and reduce vibration noise.
Test the fan by turning the power back on and running it for a few minutes. Listen for any unusual noises and check for excessive vibration. If everything runs smoothly, you’re ready to install any additional ductwork or venting components.
Remember to clean the fan blades periodically and check the mounting screws every few months to ensure they haven’t loosened from vibration. A well-maintained exhaust fan will provide years of reliable service for your garage ventilation system.
Adding Air Intake Vents
Adding proper air intake vents is crucial for creating effective airflow in your garage. Start by determining the best locations for your vents – ideally, you’ll want them positioned on opposite walls to promote cross-ventilation. A good rule of thumb is to install intake vents on the cooler, shaded side of your garage and exhaust vents on the opposite wall.
Begin by marking your vent locations using a pencil and level. For most standard-sized garages, installing two 16×8 inch vents on each side will provide adequate airflow. Before cutting, use a stud finder to ensure you’re not interfering with any electrical wiring or support structures.
Using a drill with a 1/2-inch bit, create pilot holes at the corners of your marked areas. Then, carefully cut along your marked lines using a reciprocating saw or jigsaw. Make sure to wear safety goggles and a dust mask during this process.
Once you’ve created the openings, install weather-resistant louvers on the exterior side. These help prevent rain, debris, and small animals from entering while allowing air to flow freely. Secure the louvers using weatherproof screws and apply weatherstripping or caulk around the edges to prevent water infiltration.
For the interior side, install adjustable vent covers that allow you to control airflow. These are particularly useful during extreme weather conditions when you might want to restrict air movement. Make sure to choose vent covers with insect screens to keep bugs out of your workspace.
Pro tip: Consider installing one slightly larger intake vent near the floor and one exhaust vent near the ceiling on the opposite wall. This setup takes advantage of natural convection, as warm air naturally rises and creates a more efficient airflow pattern.
Remember to clean your vents regularly and check the screens for damage or debris buildup. This maintenance will ensure your ventilation system continues to work effectively and provides proper air circulation throughout your garage.
Maintenance and Optimization Tips
Regular maintenance is key to keeping your DIY garage ventilation system running smoothly and efficiently. Start by checking and cleaning your fans monthly – a simple wipe-down with a damp cloth will remove dust buildup that could affect performance. Don’t forget to inspect fan blades for any damage or excessive wear.
For exhaust vents and intake ports, make a quarterly schedule to clear any debris, cobwebs, or outdoor elements that might block airflow. If you’ve installed filters, clean or replace them every 3-6 months depending on your garage usage. Heavy woodworking or painting activities might require more frequent changes.
Listen for unusual noises or vibrations – they’re often early warning signs of potential issues. Tighten any loose screws or mounting brackets immediately to prevent further problems. Lubricate moving parts annually using appropriate mechanical oil to extend their lifespan.
To maximize efficiency, consider upgrading to smart controls or timers as part of your energy-efficient home upgrades. During seasonal changes, adjust your system’s settings to account for temperature and humidity variations. In winter, reduce ventilation during the coldest hours; in summer, take advantage of cooler morning air.
Keep a maintenance log to track cleaning dates and any repairs. This simple step helps you stay on top of routine care and spot patterns in system performance.
Creating a DIY garage ventilation system is a rewarding project that can significantly improve your workspace’s comfort and safety. With the right materials, tools, and careful planning, you can build an effective ventilation system that meets your specific needs. Remember to prioritize safety features, regularly maintain your system, and monitor its performance over time. Whether you’re a weekend mechanic, woodworking enthusiast, or simply want a more comfortable garage space, proper ventilation is a valuable investment. Don’t be intimidated by the process – take it step by step, follow local building codes, and don’t hesitate to consult professionals when needed. Your efforts will be rewarded with cleaner air, better temperature control, and a more enjoyable garage environment. Now it’s time to gather your materials and start building your custom ventilation system!