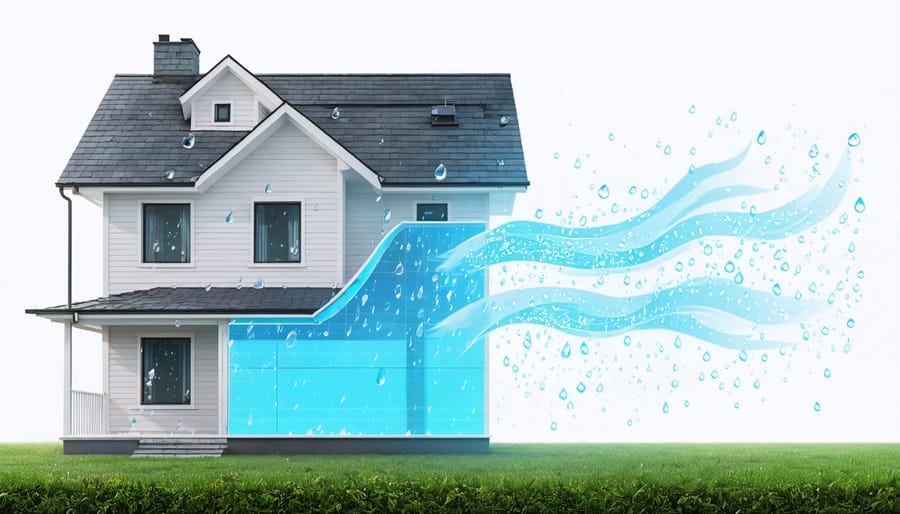
Protect your home from moisture damage and extend its lifespan with a properly installed weather resistive barrier (WRB) – your building’s essential defense against rain, snow, and wind. This critical layer, typically installed between your exterior siding and wall sheathing, creates a protective shield that prevents water infiltration while allowing vapor to escape, maintaining your wall system’s integrity.
Think of a WRB as your home’s raincoat – it’s the unsung hero that keeps your walls dry and your structure sound. Modern WRBs have evolved from traditional tar paper to advanced synthetic materials that offer superior protection and durability. Whether you’re building a new home or upgrading your existing structure, understanding WRB systems is crucial for maintaining a healthy, moisture-resistant building envelope.
In this comprehensive guide, we’ll explore everything you need to know about weather resistive barriers: from material selection and installation best practices to common pitfalls and maintenance requirements. You’ll learn how to choose the right WRB for your climate, ensure proper installation, and protect your investment for years to come.
Let’s dive into the essential elements of weather resistive barriers and discover how this invisible shield keeps your home safe and dry, season after season.
Understanding Weather Resistive Barriers
Types of Weather Resistive Barriers
When it comes to exterior wall protection, there are several types of weather resistive barriers to choose from, each with its own unique benefits and applications.
Building paper, also known as tar paper or felt paper, is one of the most traditional options. It’s budget-friendly and works well in most climates, though it’s not as durable as modern alternatives. These papers come in different grades (15-pound and 30-pound), with heavier grades offering better protection.
Sheet-applied membranes are becoming increasingly popular due to their superior water resistance and durability. These synthetic materials, often made from polyethylene or polypropylene, create a strong barrier against moisture while allowing water vapor to escape from your walls.
Fluid-applied barriers represent the newest technology in weather protection. These liquid coatings are applied directly to wall surfaces and cure to form a seamless protective layer. They’re excellent for complex architectural designs where traditional sheet materials might be difficult to install properly.
House wraps are perhaps the most common type today. These synthetic sheets combine water resistance with breathability, making them ideal for most residential applications. They’re lightweight, easy to install, and provide good protection against air and water infiltration while allowing interior moisture to escape.
Remember that climate conditions and local building codes should guide your choice of barrier type.
Key Features and Benefits
A weather resistive barrier offers several game-changing benefits that make it an essential component of any well-built structure. First and foremost, it acts as your home’s primary defense against moisture damage. Think of it as a breathable raincoat for your house – it keeps water from seeping into your walls while allowing trapped moisture to escape, preventing the growth of mold and mildew.
One of the most impressive features is its ability to block air infiltration. By creating a tight seal around your home, it significantly reduces drafts and helps maintain consistent indoor temperatures. This means your heating and cooling systems won’t have to work as hard, potentially leading to lower energy bills.
The durability of modern weather resistive barriers is remarkable. Made from tough synthetic materials, they can withstand harsh weather conditions, UV exposure, and temperature fluctuations without degrading. Many products last for decades, providing long-term protection for your home’s structure.
Another key advantage is the barrier’s role in preventing water-related damage to building materials. It shields your insulation, wooden frames, and other structural components from moisture, helping to maintain their integrity and extend their lifespan. This protection is especially valuable in areas with high rainfall or humidity.
Remember, while the initial installation might seem like an extra expense, the long-term benefits of moisture control, energy efficiency, and structural protection make a weather resistive barrier a smart investment in your home’s future.
Installation Best Practices
Preparation and Planning
Before installing a weather resistive barrier, proper preparation and planning are essential for optimal performance. Start by inspecting your wall surface thoroughly, removing any protruding nails, debris, or damaged materials that could compromise the barrier’s effectiveness. The surface should be clean, dry, and free from gaps larger than ¼ inch.
When selecting your WRB material, consider your climate zone and local building codes. Different regions may require specific vapor permeability ratings and installation methods. Choose between sheet-based barriers like building paper or house wrap, or fluid-applied barriers based on your project needs and skill level.
Gather all necessary tools before beginning: utility knife, cap nails or staples, tape measure, level, and manufacturer-approved seam tape. You’ll also need safety equipment including work gloves, safety glasses, and appropriate footwear.
Plan your installation sequence from bottom to top, ensuring proper overlap at all seams. Take time to review manufacturer guidelines for specific requirements about overlap measurements and fastening patterns. Remember to account for windows, doors, and other penetrations in your planning phase, as these areas require special attention and additional flashing materials.
Installation Techniques
Installing a weather resistive barrier correctly is crucial for its effectiveness. Start by working from the bottom up, ensuring each upper layer overlaps the lower layer by at least 6 inches. This shingle-style installation helps water flow down and away from your walls naturally.
When seaming vertical joints, maintain a minimum 6-inch overlap and secure them with construction tape specifically designed for WRBs. Pay special attention to corners, where you’ll want to create proper folds to prevent water infiltration. During window installation and sealing, integrate the WRB carefully with flashing to create a watertight seal.
For fastening, use plastic cap nails or wide-crowned staples, spacing them about 12-18 inches apart. Avoid over-fastening, as this can create unnecessary holes in the barrier. Always fasten within the top portion of the overlap to maintain the water-shedding capability of the system.
Remember to seal all penetrations properly, including pipes, vents, and electrical boxes. Use appropriate flashing tape around these areas, ensuring it adheres well to both the WRB and the penetrating element. When installing around curved surfaces or irregular shapes, create pleats or folds to maintain proper coverage without stretching the material too tight.
Pro tip: Work on calm days when possible, as wind can make installation challenging and potentially compromise the effectiveness of your barrier.
Common Installation Mistakes
Even with the best materials, improper installation can compromise your weather resistive barrier’s effectiveness. Watch out for these common mistakes to ensure your WRB performs as intended. First, avoid leaving gaps between sheets or at seams – these create vulnerable points where water can sneak in. Always overlap sheets properly, working from bottom to top like shingles on a roof.
Another frequent error is incorrect fastener placement. Using too many fasteners or placing them in the wrong spots can create unnecessary holes that become potential water entry points. Stick to manufacturer guidelines for fastener spacing and placement.
Don’t forget about proper integration with windows and doors. Many DIYers miss the crucial step of creating correct flashing sequences, which can lead to leaks around these openings. Additionally, leaving your WRB exposed to sunlight for extended periods can degrade its performance – install your exterior cladding promptly after WRB installation.
Lastly, avoid the temptation to skip tape at seams or use incompatible materials. Always use manufacturer-recommended tapes and accessories to ensure a properly sealed barrier system.
Maintenance and Troubleshooting
Regular Inspection Tips
Regular checks of your weather resistive barrier can prevent costly water damage and maintain your home’s protection. Here’s how to conduct a thorough inspection:
Start by examining the exterior walls for any obvious signs of damage, such as tears, holes, or areas where the barrier appears to be pulling away from the wall. Pay special attention to areas around windows, doors, and other penetrations where seals might have weakened over time.
Look for these specific warning signs:
– Bubbling or blistering in the barrier material
– Loose or missing fasteners
– Gaps at seams or overlaps
– Discoloration that might indicate water penetration
– Wrinkles or waves in the material surface
During your inspection, focus on high-stress areas like corners, transitions between different materials, and spots where pipes or vents penetrate the barrier. These areas are most vulnerable to wear and tear.
For best results, conduct these inspections at least twice a year, preferably in spring and fall. After severe weather events, perform additional checks to ensure no storm damage has occurred.
If you notice any issues, mark them clearly and document their location with photos. Small problems can often be repaired with compatible flashing tape, but larger issues may require professional attention. When in doubt, consult a qualified contractor who specializes in weather barrier installations.
Repair and Replacement Guidelines
Regular inspection of your weather resistive barrier is essential to maintain your home’s protection against moisture and weather damage. Look for tears, punctures, or areas where the barrier has separated from the wall, especially after severe weather events or any exterior construction work.
If you spot minor damage like small tears or holes (less than 2 inches), you can often repair these using manufacturer-approved repair tape or patches. Always clean the damaged area thoroughly and ensure it’s completely dry before applying any repair materials. For best results, apply the tape or patch in temperatures above 40°F (4°C) and press firmly to ensure proper adhesion.
However, when facing larger tears, extensive water damage, or areas where the barrier has completely detached, replacement is typically necessary. Signs that indicate replacement include:
– Multiple areas of damage
– Mold or mildew growth
– Visible water stains on interior walls
– Persistent moisture issues
For replacement, carefully remove the damaged section, ensuring you don’t create additional tears. Install new barrier material, overlapping properly with existing sections (typically 6 inches minimum). Always work from bottom to top, maintaining proper layering to ensure water runs down and away from the structure.
Remember to consult your local building codes and manufacturer guidelines before starting any repair or replacement work. When in doubt, it’s best to contact a qualified professional, as proper installation is crucial for long-term protection.
Future-Proofing Your Structure
Climate-Specific Considerations
When choosing a weather resistive barrier, your local climate plays a crucial role in determining the best option for your home. In areas with high rainfall, you’ll want to prioritize materials with superior water resistance and drainage capabilities. For coastal regions, look for WRBs that can withstand salt spray and high winds, while maintaining excellent seasonal weather protection.
Hot, sunny climates require barriers with good UV resistance, especially if the WRB will be exposed during construction. In these areas, consider products rated for extended UV exposure. For cold climates, focus on barriers that offer superior air sealing properties and won’t become brittle in freezing temperatures.
Areas with frequent temperature fluctuations need flexible materials that can expand and contract without compromising performance. Additionally, regions with high humidity should use vapor-permeable barriers to prevent moisture buildup in wall assemblies.
Remember to check your local building codes, as different climates often have specific requirements for weather resistive barriers based on regional weather patterns and construction practices.
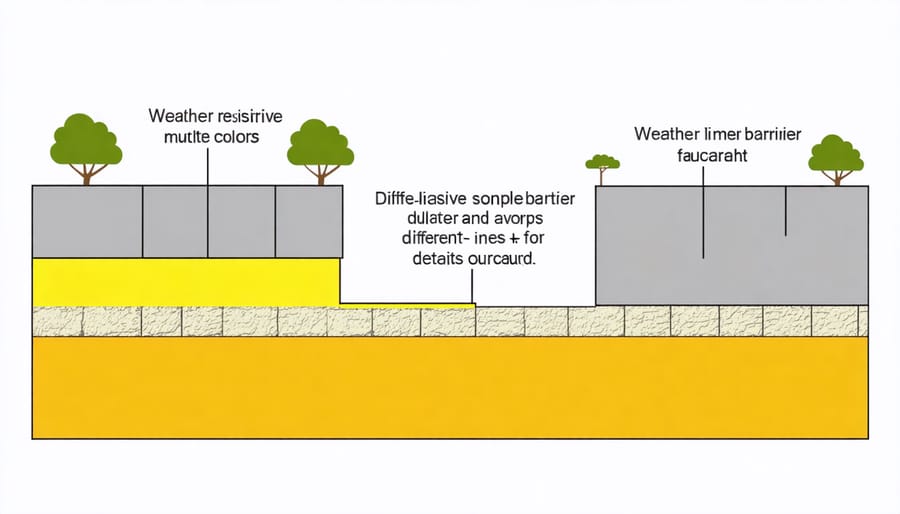
Integration with Other Weather Protection Systems
A weather resistive barrier works best when it’s part of a complete protection system for your home. Think of it as a team player, working alongside other important elements to keep your home dry and comfortable. The most crucial partnerships are with your home’s siding, window flashing, and roof drainage system.
Your WRB should integrate seamlessly with proper flashing around windows, doors, and other openings. This connection prevents water from sneaking behind the barrier at these vulnerable points. The barrier also needs to work in harmony with your home’s ventilation system, allowing moisture to escape while keeping external water out.
When planning your home’s protection strategy, consider how your WRB fits into broader exterior design principles. A good installation includes proper overlapping with foundation waterproofing at the bottom and roof underlayment at the top. Don’t forget about corners and joints – these areas need special attention to ensure continuous protection.
For the best results, make sure all your weather protection components are compatible. Some materials work better together than others, so check manufacturer recommendations before making your final choices.
A properly installed weather resistive barrier is your home’s first line of defense against moisture damage and energy loss. Throughout this guide, we’ve explored how WRBs protect your home by creating a crucial barrier that keeps water out while allowing vapor to escape, maintaining your home’s structural integrity and indoor comfort.
Remember that successful WRB implementation depends on careful material selection, proper installation techniques, and attention to detail at every step. Whether you’re building a new home or upgrading your existing structure, investing time and resources in quality WRB materials and professional installation can save you thousands in potential repairs down the road.
Key takeaways include selecting the right type of WRB for your climate and building design, ensuring proper overlap and sealing at all joints and penetrations, and coordinating with other building components like windows, doors, and siding. Regular inspections and maintenance will help your WRB continue performing effectively for years to come.
For DIY enthusiasts, while some aspects of WRB installation can be handled independently, don’t hesitate to consult professionals for complex installations or when you’re unsure about proper techniques. The long-term protection of your home is worth the investment in doing things right the first time.
By understanding and implementing proper WRB systems, you’re not just weatherproofing your home – you’re protecting your investment and ensuring a comfortable, energy-efficient living space for years to come.