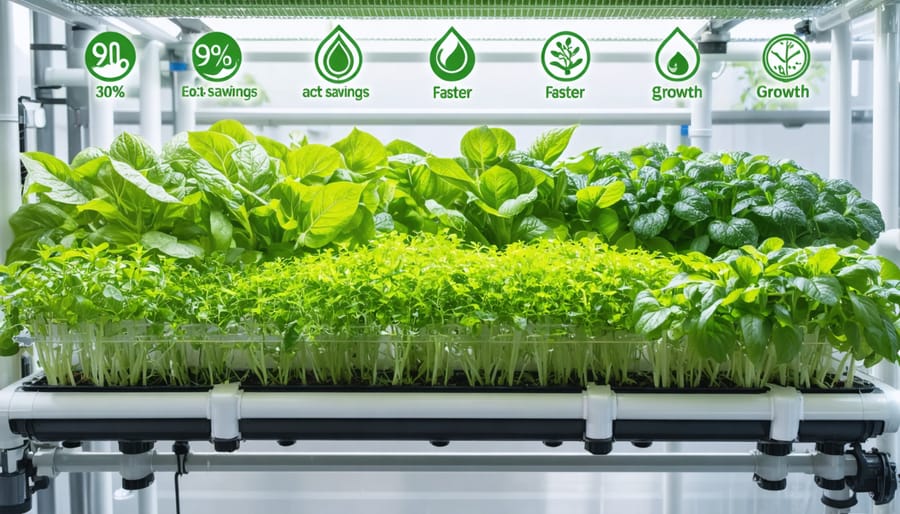
Transform your backyard into a thriving hydroponic oasis without breaking the bank or requiring complex engineering skills. Building an outdoor hydroponic garden combines the best of small space gardening solutions with cutting-edge growing techniques. Start with a simple NFT (Nutrient Film Technique) system using PVC pipes, a submersible pump, and food-safe containers – perfect for growing leafy greens and herbs year-round. Weather-proof your setup by installing a clear polycarbonate cover to protect plants from rain while maintaining optimal sunlight exposure. Monitor water temperature using an affordable digital thermometer, keeping it between 65-75°F for optimal nutrient absorption. This DIY approach saves up to 90% more water than traditional gardening while producing yields up to 30% faster, making it an ideal solution for eco-conscious gardeners looking to maximize their outdoor growing space.
Essential Components for Your Outdoor Hydroponic System
Core Materials List
Here’s everything you’ll need to build your outdoor hydroponic garden, including budget-friendly alternatives for most components:
Essential Structure:
– 1 large plastic storage container (30-50 gallons) or multiple smaller ones
– Net pots (3-inch diameter recommended, quantity based on container size)
– Growing medium (clay pebbles or rockwool cubes)
– PVC pipes (1/2 inch diameter) for plumbing
– Air pump with air stones
– Water pump (400-800 GPH depending on system size)
– Timer for pump cycling
– Dark vinyl or paint to block light
Nutrient Components:
– Hydroponic nutrients (general purpose A&B solution)
– pH testing kit
– pH up/down adjusters
– TDS/EC meter
– Clean water source
Optional but Recommended:
– Backup air pump
– Temperature gauge
– Shade cloth or greenhouse covering
– Zip ties and mounting brackets
– Garden trellis for climbing plants
– Backup power supply
Tools Needed:
– Drill with hole saw attachments
– Utility knife
– Measuring tape
– Level
– Basic hand tools
Remember to choose weather-resistant materials that can withstand outdoor conditions. For beginners, start with a simple system and expand as you gain experience.
Tools You’ll Need
Before diving into construction, gather these essential tools to ensure a smooth building process for your outdoor hydroponic garden. You’ll need both basic tools and some specialty items:
Basic Tools:
– Drill with various drill bits
– Measuring tape
– Level
– Utility knife
– Permanent marker
– Pencil
– Safety glasses
– Work gloves
– Scissors or pruning shears
Hydroponic-Specific Tools:
– PVC pipe cutter or hacksaw
– Hole saw attachment (2-inch diameter for net pots)
– pH testing kit
– TDS (Total Dissolved Solids) meter
– Net pots (various sizes depending on your plants)
– Air pump
– Water pump
– Tubing (food-grade)
Safety Equipment:
– Dust mask (for cutting PVC)
– Protective eyewear
– Heavy-duty gloves
– Sturdy work shoes
– First aid kit
Optional but Helpful:
– Electric screwdriver
– Rubber mallet
– Channel lock pliers
– Wire strippers (for pump installations)
– Sandpaper (for smoothing rough edges)
Pro tip: While you might be tempted to skip some safety equipment, always prioritize protection, especially when cutting materials or working with electrical components. Keep your tools organized and clean throughout the building process to make assembly easier and more efficient.
Planning Your Outdoor Hydroponic Setup
Choosing the Perfect Spot
Finding the right location for your outdoor hydroponic garden is crucial for success. As you maximize your outdoor space, consider these essential factors that will affect your garden’s performance.
First, assess the sunlight patterns in your yard. Most hydroponic plants need 6-8 hours of direct sunlight daily. Look for a spot that receives morning sun but has some afternoon shade in hotter climates to prevent water temperature spikes. Consider using a shade cloth during peak summer months if needed.
Access to electricity and water is crucial. Your spot should be within easy reach of both utilities, as your system will need power for pumps and regular water changes. Install a GFCI outlet if you don’t already have one nearby – safety first!
Protection from strong winds is important to prevent system damage and excessive water evaporation. Consider placing your garden near a fence or wall that can act as a windbreak while still allowing good airflow.
The surface should be level and stable. A concrete pad or sturdy deck works well, but you can also create a level base using pavers or gravel. Ensure the area has proper drainage to prevent water pooling around your system during rainy weather.
Remember to keep your garden easily accessible for daily maintenance and harvesting. You’ll want enough space to move around the system comfortably while tending to your plants.
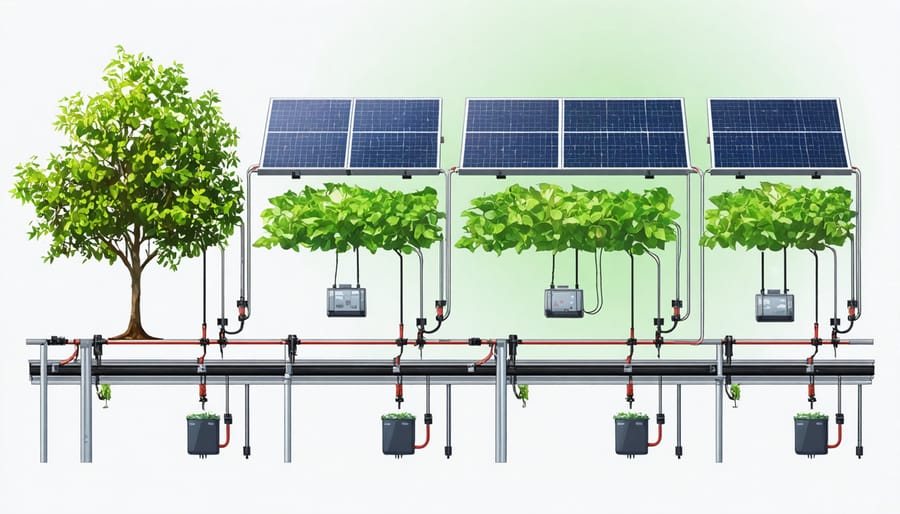
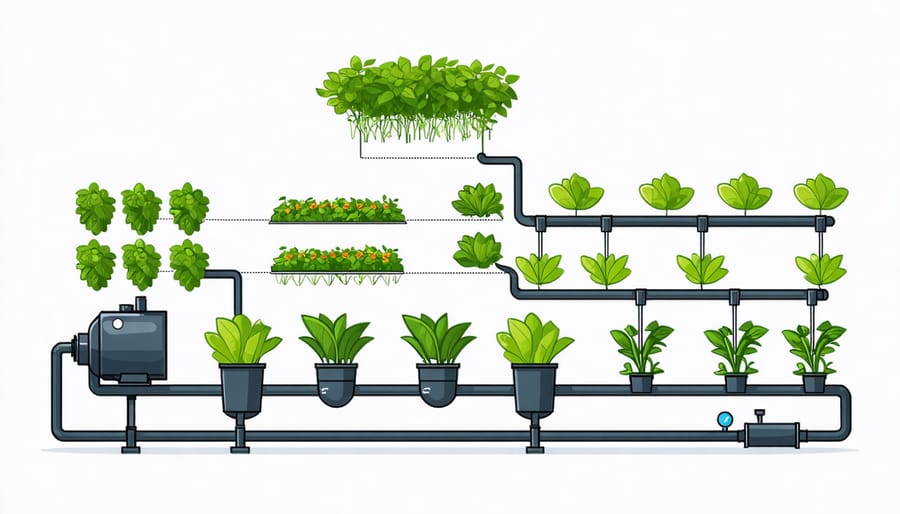
System Design Options
When planning your outdoor hydroponic garden, several proven systems offer excellent results while maintaining an energy-efficient system design. The Deep Water Culture (DWC) system is perfect for beginners, featuring a simple setup where plant roots dangle directly into nutrient-rich water. This method works particularly well for leafy greens and herbs.
For those with limited space, vertical NFT (Nutrient Film Technique) systems are ideal. These systems circulate a thin film of nutrient solution through channels, making them perfect for growing smaller plants like lettuce and strawberries. They’re also great for maximizing your outdoor growing area while maintaining a clean, modern look.
The Dutch Bucket system is excellent for larger plants like tomatoes and cucumbers. This method uses individual buckets connected by irrigation lines, allowing for easy maintenance and plant rotation. You can start small with just a few buckets and expand as your confidence grows.
Ebb and flow systems, also known as flood and drain, are another versatile option. They periodically flood the growing bed with nutrient solution before draining it back into a reservoir. This system works well for a variety of plants and can be easily customized to fit your space.
For those seeking simplicity, the Kratky method requires no electricity or moving parts, making it perfect for areas without power access. While it’s best suited for smaller plants, it’s incredibly low-maintenance and perfect for busy gardeners.
Step-by-Step Construction Guide
Building the Frame
The foundation of your outdoor hydroponic garden starts with a sturdy frame that can withstand the elements while supporting your growing system. Let’s build a basic frame using readily available materials from your local hardware store.
Begin by gathering your supplies: 2-inch PVC pipes, PVC connectors (elbows, T-joints, and cross fittings), a PVC cutter or saw, measuring tape, and a level. For a standard setup that can support 4-6 plants, you’ll need about 20 feet of PVC pipe.
Start by creating the base rectangle. Cut four pieces of PVC pipe to your desired length – we recommend 4 feet for the longer sides and 2 feet for the shorter sides. Connect these using 90-degree elbow joints at each corner. This forms your foundation.
Next, build the vertical supports. Cut four pieces of PVC pipe to about 3 feet in length. These will serve as your uprights. Attach them to the base rectangle using T-joints at each corner. Make sure to check each upright with your level to ensure they’re perfectly vertical.
For additional stability, create a top frame that mirrors your base. Connect the upper ends of your vertical supports using PVC pipes and elbow joints. Add cross-bracing between the uprights using diagonal pieces of PVC for extra support – this is especially important for outdoor setups that might face wind.
Pro tip: If you’re setting up on uneven ground, add adjustable feet to your frame’s base. These can be made using threaded PVC caps and bolts, allowing you to level your system perfectly regardless of the surface beneath.
Once your frame is complete, give it a gentle shake test to ensure everything is secure. Tighten any loose fittings and double-check all your measurements before moving on to the next phase of construction.
Setting Up the Plumbing
Now that we’ve got our frame assembled, it’s time to set up the plumbing system – the lifeline of your hydroponic garden. Don’t worry if you’re not confident with your basic repair skills; this system is straightforward to assemble.
Start by connecting your main water reservoir to the pump. Use food-grade tubing that’s at least 1/2 inch in diameter to ensure proper water flow. Secure all connections with adjustable clamps to prevent leaks. Position your pump at the lowest point of the reservoir to maintain consistent water pressure.
Next, create your distribution network. Run the main line from your pump along the top of your growing channels. Install T-connectors at regular intervals – these will feed water to individual plant sites. For each plant site, attach smaller diameter tubing (usually 1/4 inch) to create individual drip lines.
Pro tip: Install a ball valve near the pump output. This allows you to control water flow and makes system maintenance much easier.
For the return system, ensure your growing channels have a slight slope (about 1 inch drop per 4 feet) leading back to the reservoir. This helps water flow naturally back to your reservoir through gravity.
Before adding any plants, conduct a thorough system test:
1. Fill the reservoir with plain water
2. Turn on the pump and check for leaks
3. Verify water flow at each drip point
4. Time the complete cycle to ensure proper drainage
5. Monitor the system for 24 hours
If you notice any leaks, tighten connections or apply food-grade silicone sealant. Remember, it’s better to fix issues now than after your plants are in place. Keep some spare tubing and connectors handy – they’ll come in useful for future maintenance.
Installing the Growing Medium
Now that your system is assembled, it’s time to prepare and install your growing medium. For outdoor hydroponics, you’ll want to choose a medium that provides excellent drainage while supporting your plants’ root systems. Popular options include expanded clay pellets (LECA), rockwool cubes, or perlite.
Start by thoroughly rinsing your chosen medium to remove any dust or debris. For clay pellets, soak them in pH-balanced water for 24 hours before use. This helps stabilize their pH levels and ensures they’re clean for your plants.
Fill your net pots about 2/3 full with the growing medium, leaving enough space at the top for plant placement and additional medium support. If you’re using rockwool cubes, cut them to fit snugly inside your net pots. For clay pellets or perlite, pour them carefully to avoid spillage.
Position your filled net pots into the designated holes in your growing system. Ensure they’re seated properly and level with the surface. Add additional medium around young plants or seedlings to provide stability as they grow.
Pro tip: Create a small depression in the center of each pot’s medium. This helps direct water flow to the roots and provides a perfect spot for placing seedlings or young plants.
Remember to maintain proper spacing between your net pots to allow adequate room for plant growth. Once all pots are filled and positioned, give the medium a final light watering to help settle everything into place. Your growing system is now ready for planting!
System Maintenance and Operation
Daily Maintenance Tasks
Maintaining your outdoor hydroponic garden doesn’t have to be complicated. With just 15-20 minutes of daily attention, you can keep your system running smoothly and your plants thriving. Start each morning by checking the water level in your reservoir – top it off if needed, ensuring your plants never run dry. While you’re there, measure the pH level using a testing kit and adjust it to stay between 5.5 and 6.5 for optimal nutrient absorption.
Next, inspect your nutrient solution’s strength with an EC (electrical conductivity) meter. Make small adjustments based on your plants’ growth stage and appearance. Keep an eye out for any discoloration in the leaves, which might indicate nutrient deficiencies or imbalances.
Give your plants a quick visual check for signs of pests or disease. Early detection is crucial for outdoor systems, where insects and environmental factors can pose challenges. Clear away any fallen leaves or debris that might have accumulated around your setup.
Don’t forget to examine your pump and irrigation lines daily. Listen for any unusual sounds from the pump and check that water is flowing evenly through all growing channels. Clean any clogged dripper holes or spray nozzles to maintain consistent water distribution.
During warmer months, check twice daily – morning and evening – as evaporation rates increase. Keep detailed notes of any adjustments you make, which will help you establish patterns and optimize your system over time. Remember, consistency is key in hydroponic gardening, and these simple daily checks will help ensure a bountiful harvest.
Common Issues and Solutions
Even the best-planned outdoor hydroponic gardens can face challenges, but don’t worry – most issues have straightforward solutions. Here are the most common problems you might encounter and how to fix them:
Algae Growth
If you notice green slime in your system, it’s likely due to sunlight exposure. Cover any exposed water surfaces with light-blocking materials or paint your pipes with UV-resistant paint. Regular cleaning and proper water circulation will also help prevent algae buildup.
pH Imbalance
Plants looking stressed? Check your pH levels daily. Most hydroponic plants thrive between 5.8-6.2 pH. If levels are off, adjust gradually using pH up/down solutions. Remember, sudden changes can shock your plants.
Nutrient Deficiencies
Yellow or spotty leaves often indicate nutrient problems. Keep a nutrient monitoring schedule and adjust your solution strength based on plant growth stages. Start with half-strength nutrients for young plants and increase gradually.
Temperature Fluctuations
Outdoor systems are vulnerable to temperature swings. Install a shade cloth for hot days and consider using insulation wrapping for cooler nights. Your nutrient solution should stay between 65-75°F for optimal results.
Pump Failures
Always have a backup pump ready. Clean your primary pump monthly to prevent clogs, and check for wear and tear regularly. A battery-powered air pump can serve as emergency backup during power outages.
Pest Problems
While hydroponics typically has fewer pest issues than soil gardens, outdoor systems can attract unwanted visitors. Use food-grade diatomaceous earth around your system and install protective netting. Monitor daily for early detection and treatment.
Remember, prevention is better than cure. Regular system maintenance and daily monitoring will help you catch potential issues before they become serious problems.
Building your own outdoor hydroponic garden is an exciting journey that combines the joy of gardening with the satisfaction of DIY accomplishment. As we’ve explored throughout this guide, creating a hydroponic system doesn’t have to be overwhelming or expensive. With basic materials, careful planning, and the step-by-step instructions we’ve provided, you’re well-equipped to start your own hydroponic adventure.
Remember that success doesn’t happen overnight. Start small, perhaps with a simple NFT system or a few bucket units, and expand as you gain confidence. The beauty of DIY hydroponics is that you can customize and scale your garden according to your space, budget, and growing ambitions.
Don’t be discouraged by initial challenges – they’re part of the learning process. Keep monitoring your plants, maintaining proper nutrient levels, and adjusting your system as needed. The rewards of growing your own fresh, pesticide-free produce right in your backyard are well worth the effort.
Now that you have all the essential information, it’s time to gather your supplies and start building. Your outdoor hydroponic garden awaits! Remember to document your progress, learn from each growing season, and most importantly, enjoy watching your garden flourish. Happy building, and here’s to your future harvests of fresh, homegrown produce!