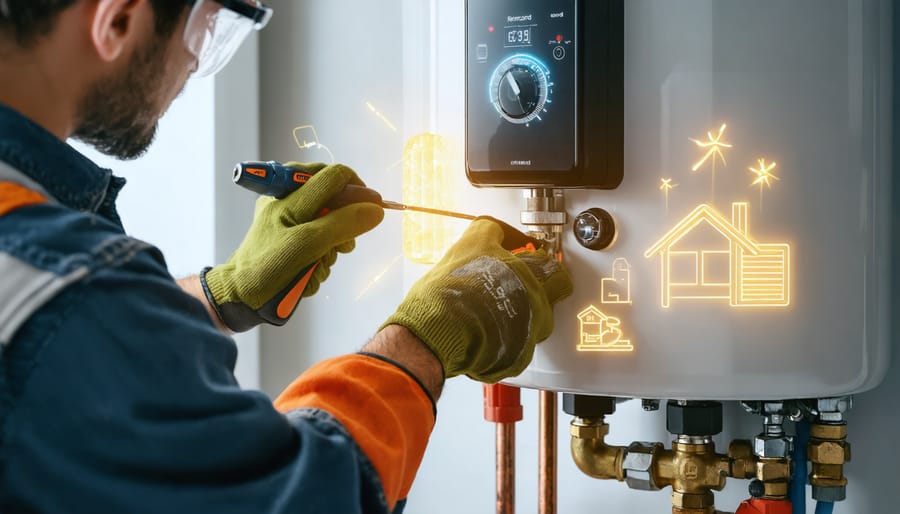
Installing a water heater timer can slash your energy bills by up to 25% while extending your unit’s lifespan. This straightforward DIY project takes about 60-90 minutes and requires basic electrical knowledge, a screwdriver, wire stripper, and voltage tester. Before beginning, turn off power to your water heater at the circuit breaker – safety comes first when working with electrical components. Whether you’re looking to reduce energy costs or optimize your hot water usage schedule, a timer installation provides immediate control over your water heater’s operation. This guide walks you through the essential steps to properly install your timer, ensure code compliance, and maximize energy savings while maintaining reliable hot water access when you need it most.
The following step-by-step instructions cover everything from initial safety precautions to final testing, ensuring you can complete this home improvement project confidently and correctly. Let’s dive into the installation process to help you start saving energy and money today.
What You’ll Need
Tools and Materials
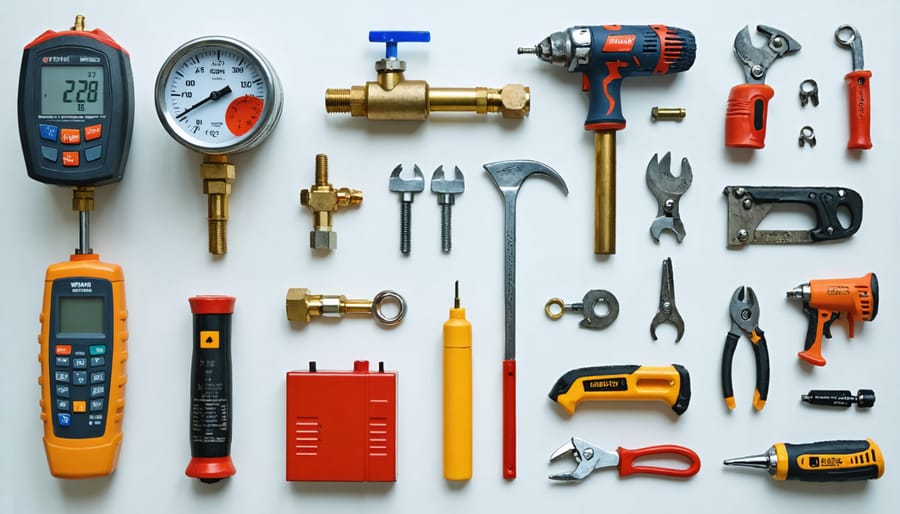
Here’s what you’ll need for your water heater timer installation:
• Electric timer (240V compatible) – Choose a reliable model designed specifically for water heaters
• Phillips and flathead screwdrivers – For removing covers and securing connections
• Wire strippers – To prepare electrical wires for connection
• Voltage tester – Essential for safety to ensure power is off
• Wire nuts – For securing wire connections
• Electrical tape – For additional wire connection protection
• Safety equipment (gloves and safety glasses) – Protect yourself during installation
• Flashlight – For better visibility in dim areas
• Basic tool kit – Contains various tools you might need
Pro tip: Before starting, check your timer’s compatibility with your water heater’s voltage and amperage ratings. Most residential water heaters operate on 240V, but it’s always good to verify your specific model’s requirements.
All these tools are readily available at your local hardware store if you don’t already have them in your toolbox.
Safety Equipment
Before starting your timer installation, ensure you have all necessary water heater installation safety precautions in place. You’ll need insulated gloves to protect against electrical hazards, safety glasses to shield your eyes, and a voltage tester to verify power is off. A sturdy pair of work boots with non-slip soles is essential for proper grounding and stability. Keep a flashlight handy for better visibility around electrical connections. Don’t forget to have a fire extinguisher nearby – while rare, electrical work can pose fire risks. For your tool protection, rubber-handled screwdrivers and wire strippers are must-haves. Remember to wear clothes that fit well and avoid any loose jewelry that could interfere with electrical work.
Preparing for Installation
Shutting Off Power
Before you begin any work on your water heater timer installation, it’s crucial to properly shut off the power to ensure your safety. First, locate your home’s electrical panel and find the circuit breaker labeled for your water heater – it’s typically a double-pole breaker rated at 30 amps.
Switch the breaker to the “OFF” position. If you’re unsure which breaker controls your water heater, turn on the hot water in a nearby faucet and have someone watch while you flip breakers until the water heater’s indicator light goes out.
For extra safety, use a non-contact voltage tester to verify that power is completely off. Remove the access panel on your water heater and carefully test all wires. Even after shutting off power, treat all wires as if they’re live.
If your water heater is gas-powered, you’ll need to turn the gas control valve to the “pilot” position. Don’t turn it completely off unless you’re comfortable relighting the pilot light later.
Remember to place a piece of tape over the breaker switch to prevent anyone from accidentally turning it back on while you’re working.
Accessing the Electrical Connection
Before connecting your timer, you’ll need to safely access your water heater electrical connections. Start by turning off power to your water heater at the circuit breaker – this is crucial for your safety! Remove the access panel on your water heater using a screwdriver; you’ll typically find this near the top of the unit.
Once inside, you should see two electrical wires (usually black and white) connected to the water heater’s terminals, along with a ground wire (typically green or copper). Carefully label these wires with tape to remember their original positions – this will be super helpful later!
Next, use a voltage tester to double-check that there’s no power running to the wires. Even after turning off the breaker, this extra safety step is essential. Remove the wire connectors (usually wire nuts) that secure the electrical connections, but keep the wires separated and organized.
Make sure the working area is clean and dry, and ensure you have enough space to comfortably work with the wires. Having good lighting will make this task much easier and safer.
Installing the Timer
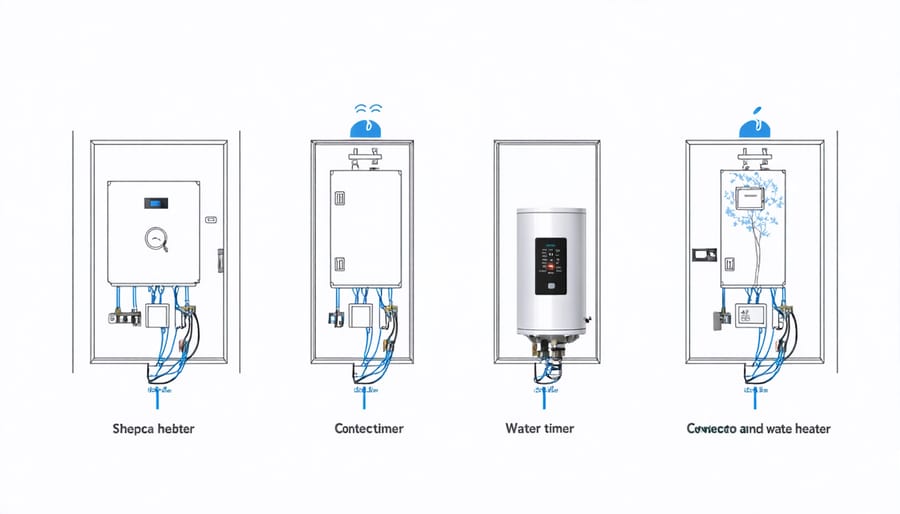
Mounting the Timer
Now that you’ve selected your location, it’s time to mount the timer unit securely. Choose a spot that’s easily accessible and within reach of your water heater’s power supply. Ideally, the timer should be mounted at eye level for convenient programming and maintenance.
Start by holding the timer against the wall and using a level to ensure it’s perfectly straight. Mark the mounting holes with a pencil through the timer’s mounting brackets. If you’re mounting on drywall, locate the studs using a stud finder for the most secure installation. For concrete or brick walls, you’ll need appropriate wall anchors.
Pre-drill your mounting holes using a drill bit slightly smaller than your screws. If using wall anchors, drill holes to match their size. Hold the timer unit against the wall, aligning it with your pre-drilled holes. Secure it firmly using appropriate screws, making sure it doesn’t wobble or feel loose.
Keep the timer at least 12 inches away from any water sources and ensure there’s enough clearance around it for easy access to the controls and wiring compartment.
Wiring Connection
Before connecting any wires, ensure the power is completely shut off at your electrical panel. Double-check with a voltage tester for safety. Now, carefully remove the junction box cover on your water heater to access the wiring.
You’ll typically find two black wires (hot), two white wires (neutral), and one green or bare copper wire (ground). The timer will have similar colored wires that need to be matched appropriately. Start by connecting the ground wires together using a wire nut, ensuring a secure connection.
Next, connect one black wire from the power source to the “LINE” terminal on your timer, and the other black wire from the water heater to the “LOAD” terminal. Join the white neutral wires together using a wire nut. Some timers may have additional wires for specific features – refer to your timer’s manual for these connections.
Once all connections are secure, gently tuck the wires back into the junction box, making sure they’re not pinched or stretched. Replace the junction box cover firmly. Double-check all connections before restoring power.
Pro tip: Take a photo of the original wiring setup before disconnecting anything. This will serve as a helpful reference if needed. If you’re unsure about any step, don’t hesitate to contact a licensed electrician – safety should always come first when working with electrical components.
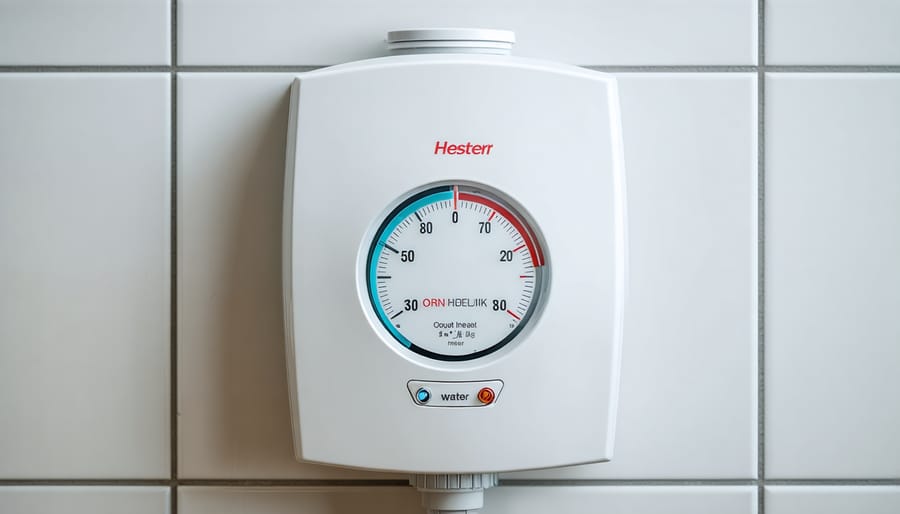
Programming Settings
Now that your timer is installed, let’s set it up for optimal performance. Start by pressing and holding the “Program” button until you see the display flash. Use the “Hour” and “Minute” buttons to set the current time, ensuring you’ve selected AM or PM correctly.
To program your schedule, press “Program” again and set your first “On” time. This is when your water heater will start heating. Most homeowners choose early morning hours, like 5:00 AM, to ensure hot water is ready for morning showers. Press “Program” once more to set the corresponding “Off” time.
You can typically set multiple on/off cycles throughout the day. Consider your household’s hot water usage patterns when programming. For example, if you work from home, you might want a midday heating cycle.
Pro tip: Start with a conservative schedule of two cycles per day – one in the morning and one in the evening. Monitor your hot water needs for a week and adjust as needed. Remember to set the override function for unexpected hot water needs outside your regular schedule.
Double-check all your settings before finalizing the program by pressing the “Enter” or “Set” button (depending on your model).
Testing and Maintenance
Initial Testing
Before turning on your water heater, let’s make sure everything is properly connected and functioning. First, restore power to the water heater at your electrical panel. Check that the timer display is illuminated and showing the correct time. Listen for any unusual sounds from the timer or connections.
Set your timer to the “ON” position manually and wait a few minutes. You should hear your water heater activate. Next, switch it to “OFF” and confirm the unit stops heating. This verifies the basic timer functions are working correctly.
Test the override function if your timer has one. This feature allows you to temporarily bypass the programmed schedule when needed. Finally, let your timer run through a complete ON/OFF cycle to ensure it switches at your designated times.
If you notice any issues during testing, double-check all wire connections and make sure they’re tight and properly insulated. Remember, if you’re unsure about anything, it’s best to consult an electrician.
Ongoing Maintenance
To keep your water heater timer running smoothly, schedule regular maintenance checks every six months. During these checks, inspect the timer’s display for any signs of dimming or malfunction. Clean the timer’s exterior with a dry cloth to prevent dust buildup, which can affect its performance. While maintaining your water heater, take a moment to verify that all timer settings are correct and adjust them according to your current needs.
Test the timer’s functionality monthly by manually switching between on and off modes. Listen for any unusual sounds during operation, and check that the timer maintains accurate time settings after power outages. Replace the backup battery (if your model has one) every two years or as recommended by the manufacturer. If you notice any irregularities in performance or timing accuracy, consult your user manual or contact a professional for assistance.
Installing a water heater timer is a smart investment that pays off in both energy savings and convenience. By following the installation steps carefully and maintaining your timer regularly, you’ll enjoy lower utility bills and extended water heater life. Remember to check your timer settings seasonally, keep the timer box clean, and inspect the wiring connections annually. If you notice any irregularities in performance, don’t hesitate to consult a professional. With proper care, your water heater timer will continue to optimize your hot water usage and reduce energy waste for years to come. Make the most of your investment by monitoring your energy bills and adjusting the schedule as needed to match your household’s habits. You’ve taken a great step toward a more energy-efficient home – enjoy the benefits of your newly installed water heater timer!