Transform your living space with vinyl’s endless creative potential – the ultimate material for budget-friendly home improvements that pack major visual impact. From stunning wall decals to customized furniture makeovers, vinyl crafting opens up a world of design possibilities that won’t break the bank. Whether you’re a seasoned DIY enthusiast or just starting your creative journey, vinyl’s versatility, durability, and ease of use make it perfect for transforming everyday items into personalized masterpieces.
Master the basics of vinyl cutting, weeding, and application to unlock countless project opportunities – from sophisticated home signage to eye-catching window displays. With just a few essential tools and some creative inspiration, you’ll discover how this flexible medium can refresh furniture, create stunning wall art, and add personality to plain surfaces throughout your home. Let’s explore the most popular vinyl DIY projects that combine style, functionality, and creative expression, helping you craft a space that truly reflects your unique aesthetic.
Essential Tools and Materials for Vinyl Projects
Choosing the Right Vinyl
Selecting the right vinyl for your DIY project can make the difference between a stunning success and a frustrating failure. For beginners, adhesive craft vinyl is perfect for simple decorative projects like wall decals and custom signs. It comes in two main varieties: permanent and removable. Permanent vinyl works best for long-term outdoor projects and items that need washing, while removable vinyl is ideal for temporary decorations and rental-friendly projects.
Heat transfer vinyl (HTV) is your go-to choice for fabric projects like custom t-shirts and tote bags. It’s durable, washable, and available in countless colors and finishes. Just remember that HTV requires a heat press or iron for application.
For outdoor projects or items exposed to moisture, choose outdoor-grade vinyl with UV protection and water resistance. These vinyls typically last 3-6 years without fading or peeling. When working with detailed designs, opt for premium vinyl brands that offer better cutting precision and easier weeding.
Consider the finish too – matte vinyl works great for modern, understated looks, while glitter and metallic finishes add drama to special occasion pieces.
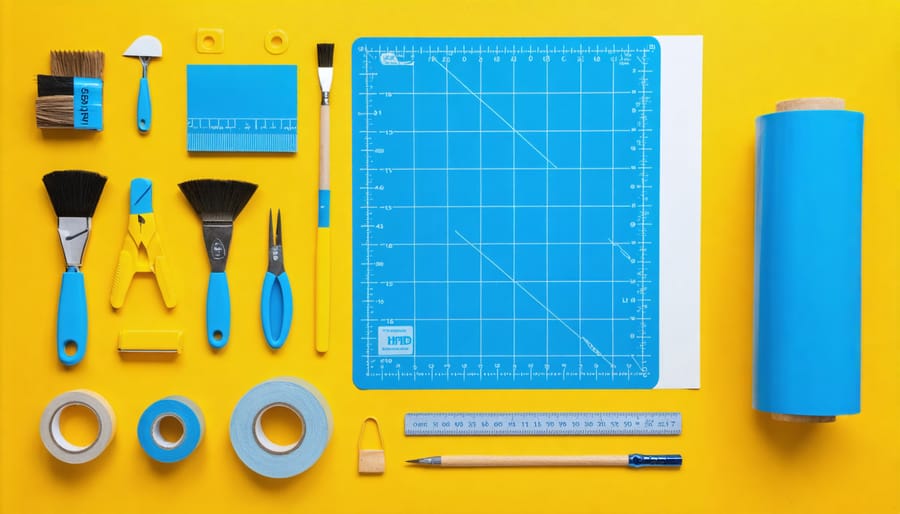
Must-Have Tools
Before diving into your vinyl DIY projects, you’ll need to gather a few essential tools to ensure success. Start with a quality cutting mat to protect your work surface and ensure clean cuts. A vinyl cutting tool or craft knife is indispensable – look for one with a comfortable grip and replaceable blades for precise cutting.
You’ll also need a weeding tool set, which includes small hooks and picks for removing excess vinyl from your designs. A scraper or squeegee is crucial for smooth application and removing air bubbles. Transfer tape is another must-have, helping you move your design from the backing to your project surface without losing alignment.
For precise measurements and straight lines, keep a ruler or measuring tape handy. If you’re working with heat transfer vinyl, you’ll need a heat press or iron, plus a protective sheet to prevent scorching. Don’t forget cleaning supplies like rubbing alcohol and lint-free cloths to prep your surfaces.
Lastly, invest in good-quality scissors dedicated solely to vinyl cutting – using them for other materials can dull the blades and affect your vinyl cuts.
Quick and Easy Vinyl Wall Art Projects
Geometric Wall Patterns
Transform your walls into modern art pieces with this eye-catching geometric pattern project. Start by gathering your materials: adhesive vinyl in your chosen colors, a measuring tape, pencil, level, ruler, and scissors or a craft knife.
Begin by cleaning your wall thoroughly and letting it dry completely. Sketch your desired geometric pattern on paper first – triangles, hexagons, and diamonds work particularly well for beginners. For a foolproof approach, create a template using cardboard or thick paper.
Measure and mark your wall lightly with pencil to create guidelines for your pattern. Using a level ensures your design stays straight and professional-looking. Cut your vinyl pieces according to your template, making sure all edges are crisp and clean.
Start applying vinyl shapes from the center of your design, working your way outward. This helps maintain symmetry and makes it easier to adjust if needed. Peel back the vinyl backing slowly and apply pressure from the center outward to prevent air bubbles.
Pro tip: Use a credit card or squeegee to smooth each piece as you go. For complex patterns, apply small sections at a time rather than rushing to complete the entire design at once.
Don’t be afraid to mix different vinyl finishes – combining matte and metallic pieces can add depth and visual interest to your pattern. If you make a mistake, gently heat the vinyl with a hairdryer to make it easier to remove and reposition.
Remember, geometric patterns don’t have to cover an entire wall – try creating a focal point above a bed or desk for maximum impact with minimal effort.

Custom Quote Decals
Custom quote decals are a fantastic way to add personality and inspiration to any room. With just a few supplies and some creativity, you can transform your walls into meaningful works of art. To get started, you’ll need adhesive vinyl, transfer tape, a cutting machine or exacto knife, application tools, and your chosen quote design.
Begin by selecting your quote and font style. Keep it simple for your first attempt – shorter phrases are easier to work with. If using a cutting machine, design your quote in the software and send it to cut. For hand-cutting, print your design and trace it onto the vinyl.
Once cut, carefully weed away the excess vinyl, removing all pieces that aren’t part of your letters. Apply transfer tape over your design, burnishing well to ensure all letters stick. Slowly peel back the vinyl backing while keeping your design attached to the transfer tape.
Clean your wall surface thoroughly and measure to find the perfect placement. Use painter’s tape to create a level guide line. Starting from the center, apply your design by pressing the transfer tape against the wall and smoothing outward to prevent air bubbles. Burnish firmly, then carefully peel away the transfer tape at a 45-degree angle.
Pro tip: For longer quotes, cut your design into manageable sections and apply them piece by piece. This makes alignment easier and reduces the risk of letters getting tangled. Remember to step back occasionally during application to ensure everything stays level and properly spaced.
Furniture Transformation with Vinyl
Table Top Makeovers
Transform your tired table surfaces into stunning focal points with this simple vinyl makeover technique. Whether you’re working with a side table, coffee table, or dining table, vinyl can breathe new life into any piece of furniture.
Start by thoroughly cleaning your table surface with rubbing alcohol to remove any dirt or oils. Measure your table dimensions and add an extra inch on all sides for proper coverage. Use these measurements to cut your chosen vinyl pattern, being careful to maintain straight edges.
For the application, begin by peeling back a small portion of the vinyl backing. Starting from one edge, carefully lay the vinyl while removing the backing gradually. Use a squeegee or credit card to smooth out air bubbles as you go, working from the center outward. Take your time with this step – rushing can lead to wrinkles or trapped air pockets.
For tables with rounded edges, use a hair dryer on low heat to make the vinyl more pliable. This helps it conform to curves without creating creases. Once applied, trim any excess vinyl using a sharp utility knife, following the table’s edge as your guide.
Pro tip: For intricate patterns, consider creating a template from kraft paper first. This allows you to test the placement and ensure perfect alignment before committing to the vinyl application. Seal the edges with clear caulk for added durability, especially for tables that see frequent use.
Cabinet and Drawer Updates
Transform your outdated cabinets and drawers into stunning focal points with vinyl – a budget-friendly alternative to expensive replacements. This versatile material can give your kitchen, bathroom, or furniture pieces a complete makeover in just a few hours.
Start by thoroughly cleaning all surfaces with a degreaser and letting them dry completely. Measure each cabinet front and drawer face carefully, adding an extra inch on all sides for wraparound coverage. Create paper templates first to ensure perfect fits and minimize waste.
When applying vinyl, remove about 6 inches of backing at a time, working from top to bottom. Use a squeegee tool to smooth out air bubbles as you go, moving from the center outward. For corners and edges, use a heat gun on low setting to make the vinyl more pliable – this helps achieve crisp, professional-looking folds.
Pro tip: Consider using textured vinyl films that mimic wood grain, marble, or brushed metal for an ultra-realistic finish. For cabinet hardware, either work around it by cutting precise holes in the vinyl or remove it temporarily for a seamless application.
Remember to take your time with this project. While it’s tempting to rush, patience ensures long-lasting results. After application, wait 24 hours before heavy use to allow the adhesive to fully cure. With proper installation, your vinyl cabinet makeover can last several years while being fully removable if you decide to change styles later.
Creative Vinyl Home Accessories
Custom Mirror Frames
Transform plain mirrors into stunning focal points with custom vinyl frames – a budget-friendly way to add personality to any room. This project works beautifully on bathroom mirrors, entryway mirrors, or any plain glass surface that could use a decorative boost.
Start by thoroughly cleaning your mirror’s surface with glass cleaner and a lint-free cloth. Measure the mirror’s dimensions and add 2-3 inches on each side for your frame design. Using your cutting machine, create your frame pattern – geometric shapes, floral designs, or classic border patterns all work wonderfully.
For beginners, try a simple border design with straight lines or basic patterns. More experienced crafters can experiment with intricate designs like baroque-style frames or Art Deco-inspired patterns. When selecting vinyl, opt for permanent adhesive vinyl in metallic finishes like gold or silver for an elegant look, or choose bold colors to match your decor.
Apply your vinyl design using transfer tape, working from the center outward to prevent air bubbles. Take extra care around corners and edges, using a squeegee tool to ensure proper adhesion. For added dimension, layer different vinyl colors or patterns to create depth.
Pro tip: Before applying your final design, test the pattern with removable vinyl to perfect the placement and scale. This allows you to adjust the design without damaging your mirror or wasting permanent vinyl.
Personalized Storage Solutions
Transform your storage spaces into organized, eye-catching areas with custom vinyl labels and decorative elements. Start by selecting clear storage containers or neutral-colored bins that match your home’s aesthetic. Using your vinyl cutting machine, create beautiful custom labels in various fonts and sizes to identify the contents of each container.
For pantry organization, design sleek labels for food storage containers, specifying contents and expiration dates. Make them waterproof by using permanent vinyl and adding a protective overlay. In craft rooms, create detailed labels for supply bins, incorporating icons or symbols alongside text for quick visual recognition.
Consider making color-coded labels for seasonal storage bins – try cool blues for winter items and warm oranges for fall decor. For closet organization, design hanging tags or adhesive labels for clothing boxes, including specific categories like “Summer Dresses” or “Winter Accessories.”
Don’t forget smaller organizational projects like labeling spice jars, bathroom containers, or kids’ toy bins. Make the labels both functional and decorative by adding simple designs or borders that complement your home’s style. For a cohesive look, stick to a consistent color scheme and font family throughout your storage solutions.
Pro tip: Create a few blank labels in various sizes to have on hand for new storage needs, and always test your vinyl adhesion on a small, hidden area of the container first to ensure proper bonding.
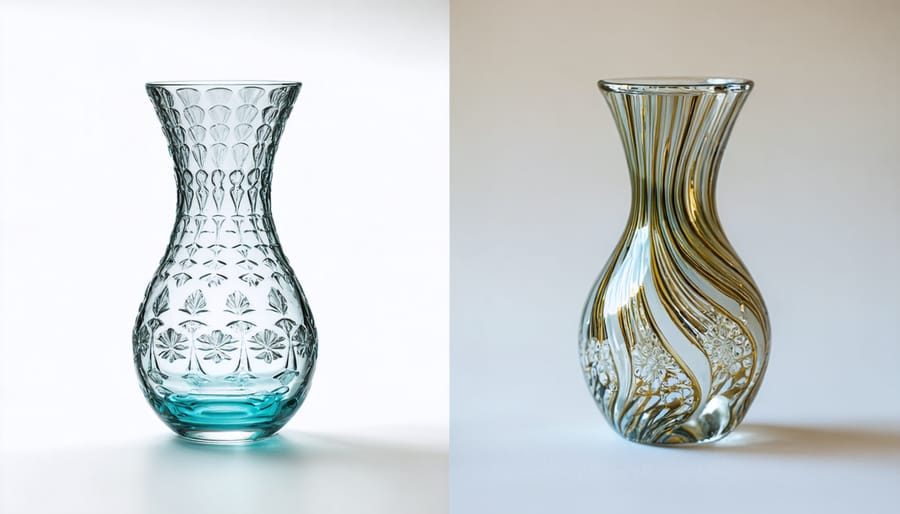
Decorative Vases and Containers
Transform ordinary vases and containers into stunning decorative pieces with these simple vinyl techniques. Start by thoroughly cleaning your vessel with rubbing alcohol to ensure the vinyl adheres properly. For a classic look, cut geometric patterns from adhesive vinyl using a craft knife or cutting machine. Apply these shapes in a symmetrical pattern, working from the bottom up for the best results.
Create an etched glass effect by applying frosted vinyl in intricate patterns. This works beautifully on clear glass containers and creates an expensive-looking finish at a fraction of the cost. For a modern twist, try wrapping containers in marble-effect vinyl, smoothing out any air bubbles with a squeegee as you go.
For a personalized touch, cut out monograms or meaningful words to apply to your containers. Remember to use transfer tape for precise placement of intricate designs. When working with curved surfaces, make small relief cuts in your vinyl to help it conform to the shape without wrinkling.
Pro tip: Heat the vinyl slightly with a hairdryer while applying it to curved surfaces – this makes it more pliable and easier to work with. For outdoor containers, always use permanent outdoor-grade vinyl to ensure your design withstands the elements.
To protect your design, consider applying a clear sealant over the vinyl, especially for pieces that might be handled frequently or exposed to moisture. This extra step will help your creation maintain its beauty for years to come.
As we’ve explored throughout this guide, vinyl DIY projects offer endless possibilities for transforming your living space without breaking the bank. Whether you’re starting with simple decals or tackling more elegant DIY projects, the key to success lies in proper preparation and attention to detail.
Remember to always clean your surfaces thoroughly, measure twice before cutting, and invest in quality tools that will serve you well across multiple projects. Don’t be afraid to start small and work your way up to more complex designs as your confidence grows. The beauty of vinyl projects is that they’re often reversible, making them perfect for experimenting with different styles and techniques.
Keep these essential tips in mind: work in a dust-free environment, use the right vinyl type for your specific application, and take your time with the application process. If you make a mistake, most vinyl can be carefully removed and repositioned, so don’t let fear hold you back from trying something new.
Your vinyl DIY journey is about more than just creating beautiful decorations – it’s about expressing your creativity and personalizing your space in a way that truly reflects your style. With the knowledge and techniques shared in this guide, you’re well-equipped to begin your vinyl crafting adventure. Start with a simple project today, and watch as your skills and confidence grow with each new creation.