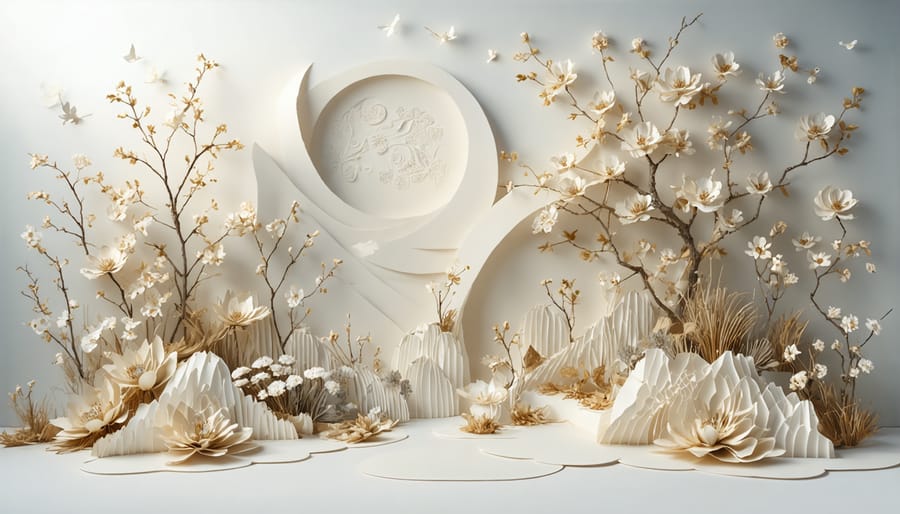
Transform ordinary paper into stunning works of art using time-honored handmade techniques that can transform your living space into a gallery of personal expression. By manipulating simple materials like cotton pulp, natural fibers, and water, artists create intricate textures, dimensional forms, and delicate sculptures that challenge our perception of paper as merely a flat surface. This ancient craft, dating back to 105 CE in China, has evolved into a contemporary art form that combines traditional methods with modern design sensibilities. Whether crafting decorative wall pieces, sculptural installations, or functional art objects, handmade paper art offers unlimited creative possibilities while maintaining a connection to sustainable, eco-friendly practices. The beauty of this medium lies in its accessibility—anyone with basic tools and patience can begin creating unique pieces that reflect their artistic vision while adding organic warmth and texture to their environment.
Essential Materials and Tools for Creating Handmade Paper Art
Basic Paper Making Supplies
Creating beautiful handmade paper starts with gathering the right essential crafting tools and materials. Here’s everything you’ll need to begin your paper-making journey:
First, you’ll need a paper-making mold and deckle – these are two frames that work together to form your paper sheets. A blender dedicated to crafting (not for food use) is essential for breaking down paper fibers. You’ll also want to gather various types of recycled paper, from newspaper to office paper, as your base material.
For the actual paper-making process, you’ll need:
– A large plastic tub or vat for your pulp mixture
– Soft cotton cloths or felt sheets for pressing
– Sponges for removing excess water
– A smooth board for drying your paper
– A spray bottle for water
– Some old towels
Optional but helpful additions include:
– Natural additives like dried flowers or leaves
– Cotton linters for strength
– Sizing (like cornstarch) to improve writing surface
– Food coloring or natural dyes
– A rolling pin for smoothing
Most of these supplies can be found at craft stores or online retailers, and many can be substituted with household items when you’re just starting out. Remember to choose materials that match your project’s needs and your comfort level with paper crafting.

Decorative Elements and Embellishments
Adding decorative elements to your handmade paper art can transform simple pieces into stunning works of art. Start with pressed flowers and leaves, which create beautiful natural design elements within your paper. These botanical additions not only add texture but also bring an organic touch to your creations.
Consider incorporating metallic elements like gold leaf or mica powder for sparkle and shine. These materials can be sprinkled onto wet paper or applied after drying for different effects. Thread, yarn, and thin ribbons can be embedded during the papermaking process or stitched afterward to create interesting patterns and dimensional designs.
For texture enthusiasts, try adding small amounts of confetti, dried herbs, or even fine glitter to your pulp mixture. Seeds, spices, and small dried petals can create interesting speckled effects throughout your paper. Remember that less is often more – start with small amounts and adjust based on your desired outcome.
Don’t forget about embossing techniques using stencils or textured materials pressed into slightly damp paper. You can also experiment with watermarks by placing designs between layers of wet pulp. For finishing touches, consider using rubber stamps, washi tape, or delicate paper cuts to enhance your final piece. These additions work particularly well for greeting cards and decorative wall art.
Beginner-Friendly Paper Art Techniques
Paper Quilling Basics
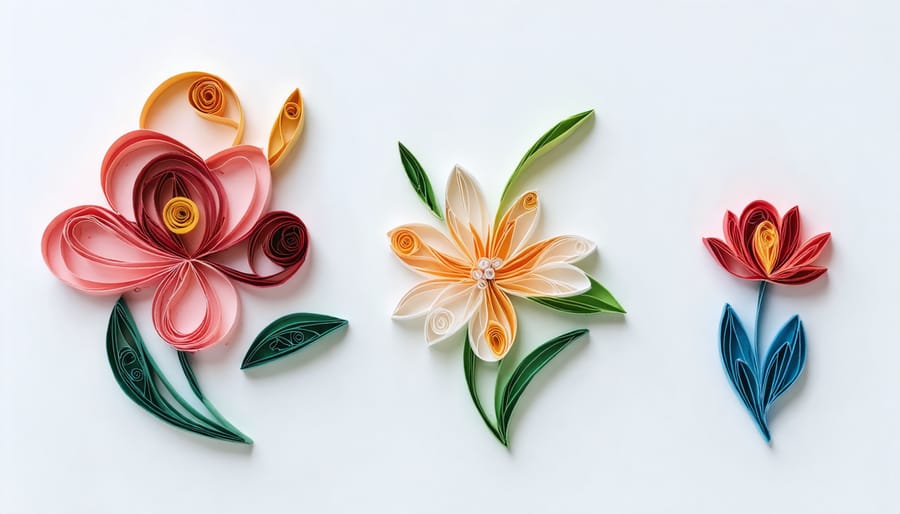
Paper quilling, one of the most enchanting traditional artistic techniques, transforms simple strips of paper into stunning decorative elements. To begin, you’ll need basic quilling tools: a slotted tool or needle tool, paper strips, and adhesive. Start by rolling a strip of paper tightly around your tool, keeping tension consistent. When you reach the end, let the coil relax slightly before gluing the tail end.
Master these essential shapes first: tight coils, loose coils, and teardrops. To create a teardrop, make a loose coil and pinch one end. For a heart, make a teardrop and indent the rounded end. These basic shapes form the foundation for countless designs, from simple flowers to intricate mandalas.
Try this beginner-friendly project: Create a colorful flower by arranging five teardrop shapes in a circle for petals, adding a tight coil in the center. Once comfortable with basic shapes, experiment with different sizes and combinations to create more complex designs.
Remember to work on a clean, flat surface and keep your hands free from oils that might affect the paper. Start with wider strips (5mm) as you learn – they’re easier to handle than narrow ones. As your confidence grows, you can progress to more detailed work with thinner strips.
3D Paper Sculptures
3D paper sculptures transform ordinary sheets into breathtaking dimensional artwork that can add depth and visual interest to any room. Unlike flat paper art, these pieces literally pop off the wall or stand independently, creating stunning focal points in your home decor.
To create basic 3D sculptures, start with high-quality cardstock or construction paper in your chosen colors. The key is layering – begin with a base shape and gradually build upward using carefully folded or curved pieces. Common techniques include accordion folds, pop-up elements, and rolled paper coils that create depth and movement.
For beginners, try creating simple geometric shapes like pyramids or cubes before moving on to more complex designs. Stack multiple layers with slight spacing between them using foam tape or small paper supports to achieve that floating effect. Advanced crafters might explore intricate designs like paper flowers with delicate petals or architectural structures with multiple connecting elements.
Tools you’ll need include a sharp craft knife, cutting mat, bone folder for crisp folds, and precision scissors. Working with templates can help you achieve consistent results, especially when creating multiple identical pieces for a larger composition. Remember to plan your design carefully before cutting, as 3D sculptures often require precise measurements to fit together properly.
Consider creating shadow box displays to protect your 3D paper sculptures while adding an extra dimension to their presentation. These pieces work particularly well in living rooms, home offices, or anywhere you want to make a bold artistic statement.
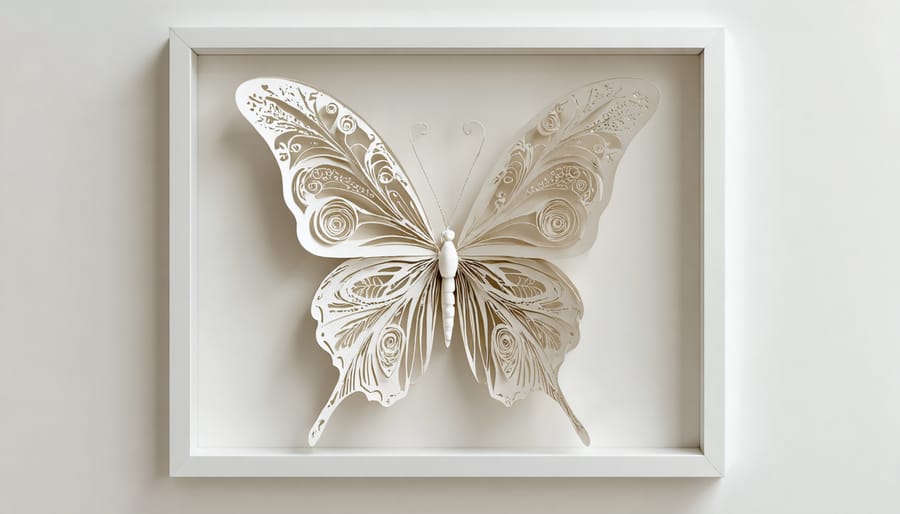
Paper Cutting and Layering
Paper cutting and layering are foundational techniques that can transform flat sheets into stunning dimensional artwork. Start with simple shapes and gradually build complexity as you gain confidence. To create depth, stack multiple layers of paper, using small foam adhesive dots or strips between each layer to create subtle shadows and dimension.
For intricate designs, begin with a pencil sketch on the back of your paper, then carefully cut along the lines using a sharp craft knife on a self-healing cutting mat. Hold your knife at a 45-degree angle for clean, precise cuts. When working with detailed patterns, cut from the center outward to maintain the paper’s stability and prevent tearing.
Layering adds fascinating visual texture to your piece. Consider using papers of varying weights and textures – combining delicate tissue paper with sturdy cardstock can create interesting contrasts. Play with different colors in your layers to add depth and visual interest. For a sophisticated look, try using papers in graduated shades of the same color.
Expert tip: Keep your knife blade sharp and replace it regularly for clean cuts. When working with multiple layers, organize them from bottom to top before adhering to ensure proper placement. For added dimension, gently curl or bend certain elements upward using a bone folder or the rounded end of a craft tool.
Remember to work in a well-lit area and take breaks during detailed cutting sessions to maintain precision and prevent eye strain.
Stunning Display Ideas for Your Paper Art
Wall Art Arrangements
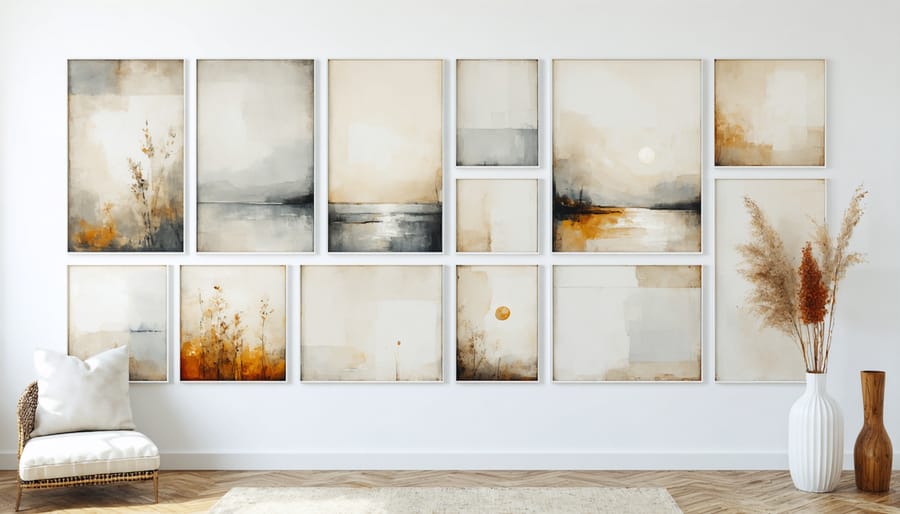
Creating an impactful wall display with your handmade paper art can transform any room into a stunning gallery space. The key is to think about balance, proportion, and visual flow when arranging your pieces. Start by laying out your artwork on the floor to experiment with different arrangements before committing to wall placement.
For a classic gallery wall, maintain consistent spacing between pieces (typically 2-3 inches) and align them using a level. Consider creating a focal point with your largest or most striking piece, then build around it with smaller works. The rule of odds often works well – grouping three, five, or seven pieces tends to be more visually appealing than even numbers.
When mixing different sizes and shapes, try to maintain a sense of visual weight throughout the arrangement. For instance, pair larger rectangular pieces with smaller square ones, or create balance by placing similarly sized works opposite each other. Don’t be afraid to incorporate other elements like mirrors or small shelves to add dimension to your paper art display.
Color coordination can tie your arrangement together beautifully. Choose pieces that share a common color palette or theme, or create intentional contrast for dramatic effect. For a cohesive look, consider using identical frames for all pieces, or select frames that complement each other while maintaining a consistent style.
Before hanging, use paper templates cut to the size of your artwork to test different arrangements. Tape these to the wall to visualize the final layout and make adjustments. Remember to consider viewing height – the center of your arrangement should typically be at eye level, around 57-60 inches from the floor.
For a more organic display, try creating a “floating” effect by mounting pieces at slightly different depths from the wall, or arrange them in a free-form pattern that grows naturally across the wall space.
Tabletop and Shelf Styling
Transform your tabletops and shelves into captivating displays with strategically placed paper art pieces. Like other forms of custom home decor, paper art can create stunning focal points that reflect your personal style while adding texture and dimension to your space.
Start by grouping paper sculptures in odd numbers, which naturally creates visual interest. Try placing three quilled paper flowers of varying heights on a coffee table, or arrange a collection of origami animals on a floating shelf. Layer your displays by incorporating different heights and depths – position taller pieces toward the back and smaller elements in front.
Consider using clear glass cloches or shadow boxes to protect delicate paper pieces while adding an extra layer of sophistication to your display. These protective covers also create mini art installations that draw the eye and spark conversation.
Mix paper art with complementary objects like ceramic vases, wooden sculptures, or metallic accents to create a balanced and dynamic arrangement. The contrast in textures makes your paper pieces stand out while maintaining a cohesive look.
For a fresh take on shelf styling, try mounting paper butterflies or geometric shapes directly on the wall behind your shelving unit. This creates an immersive display that extends beyond the shelf surface. When styling bookcases, use paper art as bookends or create small vignettes between book clusters to break up solid blocks of spines.
Remember to rotate your paper art pieces seasonally to prevent fading and keep your displays feeling fresh and current. This also gives you the opportunity to showcase different pieces throughout the year, matching your decor to the changing seasons.
Care and Preservation Tips
Environmental Considerations
Proper care and display of your handmade paper art starts with choosing the right environment. Keep your pieces away from direct sunlight, which can cause fading and deterioration over time. Instead, opt for areas with indirect natural light or artificial lighting that won’t generate excessive heat.
Humidity is another crucial factor to consider. Paper art is particularly sensitive to moisture, so aim to maintain a relative humidity level between 45-55%. Avoid displaying your pieces in bathrooms, kitchens, or basements where humidity levels tend to fluctuate. If you live in a particularly humid climate, consider using a dehumidifier in rooms where you display your art.
Temperature stability is equally important. Keep your paper art in rooms with consistent temperatures, ideally between 65-75°F (18-24°C). Sudden temperature changes can cause paper to expand and contract, potentially leading to warping or damage.
When framing your pieces, use acid-free matting and backing boards to prevent yellowing and deterioration. UV-protective glass can provide an additional layer of protection against harmful rays while still allowing your art to be visible and appreciated.
For unframed pieces, consider displaying them in glass cases or shadow boxes that protect from dust and accidental contact. If you’re planning to store paper art temporarily, use acid-free tissue paper and keep pieces flat in a cool, dry place away from direct contact with wood or plastic surfaces.
Regular gentle dusting with a soft brush and periodic checks for any signs of damage will help ensure your handmade paper art remains beautiful for years to come.
Cleaning and Maintenance
Keeping your handmade paper art in pristine condition requires gentle care and attention. Dust is paper art’s biggest enemy, so regular maintenance is essential. Use a soft, clean makeup brush or a feather duster to lightly sweep away dust particles weekly. For more delicate pieces, try using compressed air held at a safe distance to blow away debris without making contact with the artwork.
Never use water or cleaning solutions directly on your paper art, as moisture can cause warping, discoloration, and deterioration. If you notice stubborn dirt or marks, consult a professional art conservator rather than attempting to clean it yourself.
To preserve your paper art for years to come, keep it away from direct sunlight, which can fade colors and make paper brittle. Display your pieces in areas with stable temperature and humidity levels, avoiding bathrooms, kitchens, and spaces near heating vents or air conditioners.
When handling your paper art, always make sure your hands are clean and dry. If possible, wear cotton gloves to prevent natural oils from your skin from transferring to the paper. For storage, use acid-free materials and containers, and store pieces flat whenever possible to prevent bending or creasing.
Consider using UV-protective glass or acrylic when framing your paper art. This extra layer of protection will shield your artwork from harmful rays while still allowing it to be displayed beautifully. If you notice any signs of yellowing or deterioration, address the issue promptly to prevent further damage.
Remember to periodically check the mounting and framing of your pieces to ensure everything remains secure and properly aligned.
As we’ve explored throughout this guide, handmade paper art offers a wonderful blend of creativity, sustainability, and personal expression. From simple origami pieces to intricate quilled masterpieces, the possibilities are truly endless. What makes paper art particularly special is its accessibility – you don’t need expensive tools or years of training to create beautiful pieces that can transform your living space.
Whether you’re drawn to the meditative process of folding origami, the textural appeal of paper sculpture, or the delicate beauty of paper cutting, there’s a technique that will resonate with your creative spirit. Remember that like any craft, paper art is a journey of discovery. Start with basic projects and gradually challenge yourself with more complex designs as your confidence grows.
The materials needed are remarkably affordable and easy to find, making this an ideal craft to begin today. Don’t be afraid to experiment with different paper types, colors, and techniques. Some of your most unique pieces might come from happy accidents or unexpected combinations.
As you begin your paper art journey, keep in mind that perfection isn’t the goal – it’s about enjoying the creative process and expressing yourself through this versatile medium. Start with the techniques that most appeal to you, and don’t hesitate to mix different approaches as you develop your style.
Your handmade paper art pieces will not only bring beauty to your home but also serve as conversation starters and personal achievements you can be proud of. So gather your supplies, clear your workspace, and let your creativity unfold – your paper art adventure begins now.