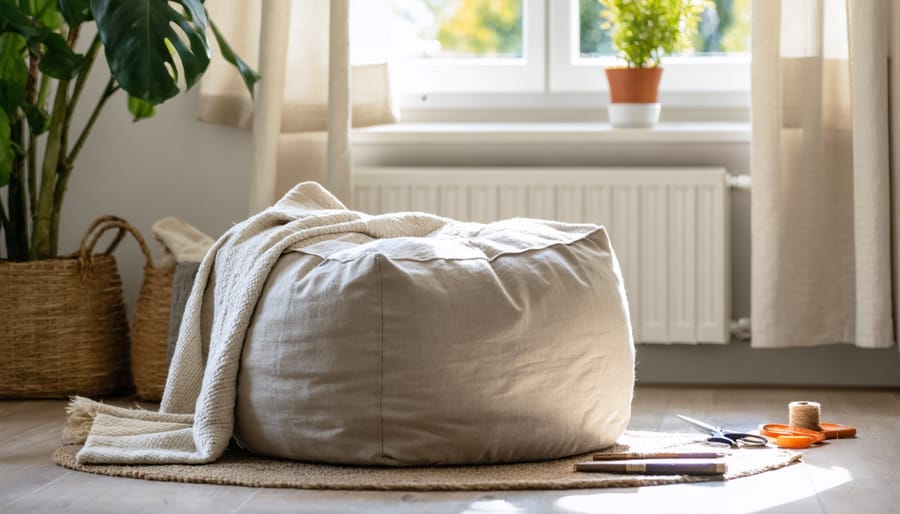
Transform your living space and save hundreds on store-bought poufs by crafting your own stylish floor cushion in just one weekend. This beginner-friendly project requires basic sewing skills, common household tools, and approximately 3 yards of upholstery fabric to create a sturdy 24-inch pouf that doubles as both seating and decor. Whether you’re working with leather, canvas, or patterned fabric, this step-by-step guide will help you construct a professional-looking pouf that rivals high-end retailers at a fraction of the cost. Perfect for adding flexible seating to any room, these DIY poufs can be customized to match your existing decor while providing the satisfaction of creating your own furniture piece from scratch.
Materials and Tools You’ll Need
Fabric Selection Guide
Selecting the right fabric for your pouf is crucial for both its appearance and durability. For the outer fabric, opt for heavyweight materials like upholstery-grade cotton, canvas, denim, or outdoor fabric. These sturdy options will withstand daily use while maintaining their shape. You’ll need approximately 1-1.5 yards of fabric for a standard-sized pouf (around 20 inches in diameter).
For the inner lining, choose medium-weight cotton or muslin – you’ll need the same amount as your outer fabric. This creates a stable foundation and prevents the filling from showing through or escaping.
Consider your room’s decor when selecting patterns and colors. Solid colors offer versatility, while bold prints can make a statement. If you’re placing your pouf in a high-traffic area or have pets, dark colors and patterns help hide wear and stains. For outdoor poufs, always choose water-resistant fabrics with UV protection.
Before purchasing, check the fabric’s cleaning instructions. Machine-washable materials are ideal for homes with children or pets. Also, pay attention to the fabric’s stretch factor – materials with minimal stretch work best as they help maintain the pouf’s shape over time.
Pro tip: Purchase an extra quarter yard of fabric to account for pattern matching and potential mistakes. If you’re new to sewing, avoid slippery fabrics like silk or velvet, as they can be challenging to work with.
Filling Options
Choosing the right filling materials is crucial for creating a comfortable and durable pouf. Let’s explore the most popular options and their benefits.
Polyester fiberfill is lightweight, affordable, and easily available at craft stores. It creates a soft, cloud-like feel but may need occasional refluffing to maintain its shape. Memory foam pieces offer excellent support and durability, though they’re slightly pricier. They maintain their shape well and provide firm seating.
Bean bag filling or polystyrene beads create a more casual, moldable pouf. They’re lightweight and comfortable but can make rustling sounds when moved. For an eco-friendly option, consider recycled textile scraps or old clothing cut into small pieces. While time-consuming to prepare, this option gives new life to unused materials.
High-density foam is perfect for a firmer seating option. Cut it into cubes or strips for easier stuffing. Consider combining different materials – for example, a foam core wrapped in fiberfill creates an ideal balance of structure and softness.
For maximum longevity, use a combination of materials: start with a firm base of foam or textile scraps, then top with fiberfill for softness. This method ensures your pouf maintains its shape while remaining comfortable for daily use.
Preparing Your Materials
Before diving into the construction process, let’s get all your materials organized and properly prepared. While store-bought professional pouf designs might look complicated, creating your own is achievable with the right preparation.
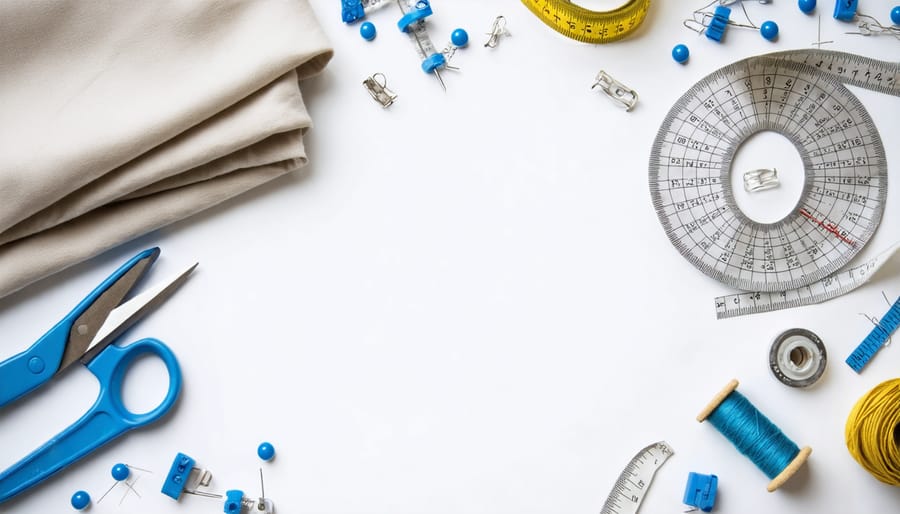
Start by gathering these essential materials:
– 2 yards of your chosen outer fabric
– 2 yards of sturdy lining fabric
– Heavy-duty thread matching your fabric
– Polyfill or foam stuffing
– A measuring tape
– Sharp fabric scissors
– Straight pins
– Chalk or fabric marker
– A large workspace
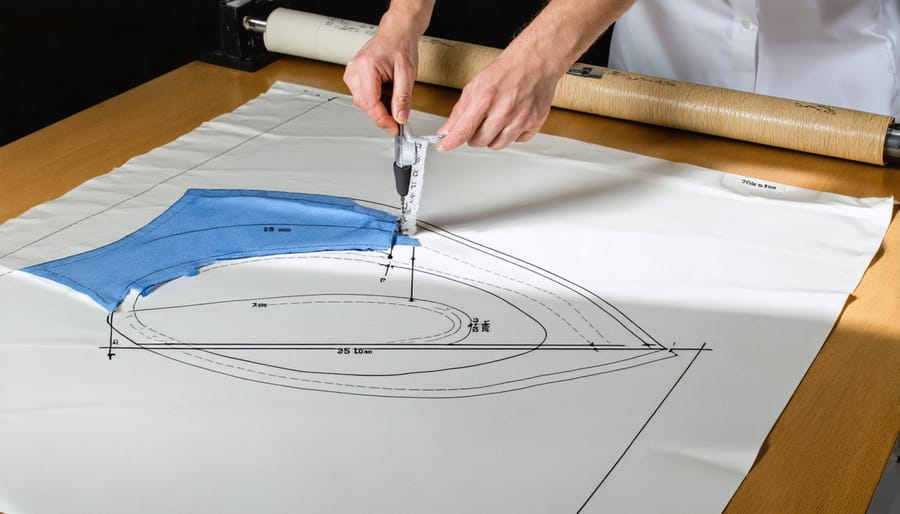
Begin by washing and ironing both fabrics to prevent shrinkage later. Next, measure and cut your fabric pieces:
1. For the top and bottom circles: Measure and cut two 24-inch diameter circles from both your outer fabric and lining fabric (four circles total).
2. For the side panel: Cut a rectangle that’s 70 inches long and 12 inches wide from both fabrics.
Pro tip: Use a large dinner plate or pizza pan as a template for your circles. Trace around it with chalk, then add a 1-inch seam allowance all around.
Sort your cut pieces into two piles: outer fabric and lining fabric. Pin matching pieces together to stay organized. Double-check all measurements before cutting, as precision at this stage will make assembly much easier.
Label each piece with chalk or pins to identify top, bottom, and side panels. This simple step will save you confusion later in the construction process.
Remember to clear a large, clean workspace where you can spread out your materials. Having everything properly organized and within reach will make the entire project flow smoothly.
Assembly Process
Creating the Outer Shell
Now it’s time to create the outer shell of your pouf, which will give it its distinctive shape and style. Start by laying out your main fabric pieces on a clean, flat surface. You’ll need six identical triangular panels that you cut earlier. Place two panels right sides together and pin along one edge. Using a straight stitch, sew them together with a 1/2-inch seam allowance, making sure to backstitch at both ends for durability.
Continue this process, adding one panel at a time until you’ve created a cone-like shape with five panels connected. Before attaching the final panel, double-check that all your seams are even and secure. Then, sew the last panel in place to complete the round shape, leaving a 6-inch opening at the bottom for stuffing later.
Pro tip: Press your seams open as you go – this will give your pouf a more professional finish and help the panels lie flat. If you’re working with thicker fabric, consider grading your seams (trimming one side slightly shorter than the other) to reduce bulk at the seam intersections.
Take a moment to turn your shell right side out through the opening you left and examine your work. The shell should have a symmetrical, hexagonal shape when laid flat. If you notice any puckering or uneven areas, now is the time to make adjustments before moving on to the next step.
Adding Support Features
To ensure your pouf maintains its shape and provides comfortable seating, you’ll need to add proper support features. Start by creating a sturdy base using a circular piece of plywood or heavy-duty cardboard cut to your desired diameter. This foundation prevents sagging and helps distribute weight evenly.
Next, wrap the base with a layer of high-density foam, extending it about 1-2 inches beyond the edge. Secure the foam with spray adhesive for a lasting hold. For extra stability, consider adding furniture feet or casters to the bottom – this will protect your floors and make the pouf easier to move.
Create internal support by adding foam cylinders or rolled batting vertically around the inner circumference. These act like pillars, preventing the sides from collapsing when weight is applied. If you’re using fabric scraps or recycled materials as filling, ensure they’re distributed evenly and packed firmly.
For the top surface, add an extra layer of batting or memory foam to create a comfortable seating area. This also helps maintain the pouf’s rounded shape and prevents any lumpy areas from forming over time.
Stuffing Techniques
Getting the perfect stuffing for your pouf is crucial for both comfort and appearance. Start by choosing your filling material – polyester fiberfill offers a soft, cloud-like feel, while foam beads provide firmer support. For an eco-friendly option, consider recycled textile scraps or old clothing cut into small pieces.
Begin stuffing from the corners, working your way toward the center. Use small amounts of filling at a time, distributing it evenly to avoid lumps. Push the stuffing firmly into each corner using your fingers or a wooden spoon handle. As you fill, periodically sit on the pouf to test its firmness and shape.
For optimal results, overstuff slightly as the filling will compress with use. Pay special attention to the edges to maintain a crisp, defined shape. If using foam beads, pour them in gradually while gently shaking the pouf to ensure even distribution. For fiberfill, pull apart any clumps before inserting to prevent uncomfortable bumps.
Remember to stuff until the pouf holds its shape firmly but still has some give when pressed. The perfect pouf should be firm enough to serve as extra seating while maintaining an attractive, plump appearance.
Finishing Touches
Now that your pouf’s basic structure is complete, let’s add those special touches that will make it truly shine. Start by carefully checking all your seams and reinforcing any areas that might need extra stitching. This extra attention to detail will significantly extend your pouf’s lifespan.
Consider adding decorative elements that match your home’s aesthetic. Tassels, pom-poms, or contrasting piping along the seams can transform a simple pouf into a statement piece. If you’re feeling creative, try hand-embroidering simple patterns or adding fabric appliques before the final assembly.
To maintain your pouf’s shape and prevent sagging, regularly fluff and rotate it, especially during the first few weeks of use. You might want to keep some extra filling material handy for future touch-ups, as the filling may compress over time with regular use.
For added durability, consider applying a fabric protector spray, particularly if you’ve used light-colored or delicate materials. This will help guard against spills and everyday wear and tear.
Once you’ve completed all these finishing touches, you’re ready to style your finished pouf in your space. Remember to place it away from direct sunlight to prevent fabric fading and maintain its beautiful appearance for years to come.
Congratulations on creating your own beautiful pouf! With proper care and maintenance, your handmade ottoman will serve as a stunning accent piece for years to come. To keep your pouf looking its best, regularly vacuum or brush it to remove dust and debris. For fabric poufs, treat stains immediately with appropriate cleaners, and consider applying a fabric protector to prevent future marks.
Like other DIY furniture projects, your pouf can be styled in various ways to enhance your space. Use it as extra seating in your living room, as a footrest beside your favorite reading chair, or even as a casual side table when topped with a decorative tray. For seasonal updates, drape a textured throw blanket across it or swap out its surroundings with different accent pillows and decor pieces.
To maintain its shape, rotate your pouf regularly and refluff the filling as needed. If you notice any loose threads or minor wear, address these issues promptly to prevent further damage. Consider making multiple poufs in complementary colors or patterns to create a cohesive look in your space. Remember, your handmade pouf isn’t just functional furniture – it’s a testament to your creativity and DIY skills that adds personality to your home.