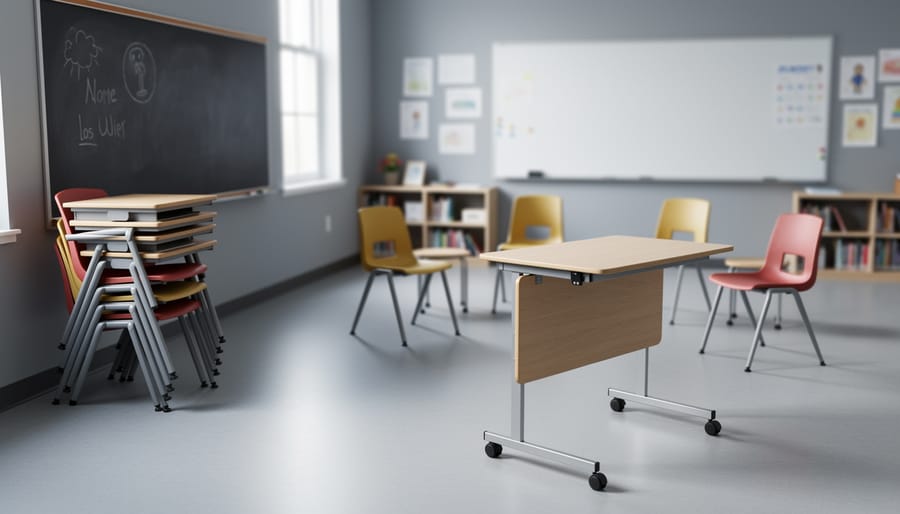
Adaptive classroom furniture is any desk, table, seat, or storage piece that changes shape, moves, or does double duty, and in a small room it’s the fastest way to make one space handle many kinds of learning. The method is simple: measure your floor, pick pieces that fold, stack, nest, or roll, then arrange them in layouts you can switch in minutes. Most people can set up a flexible room in a single afternoon with a tape measure, some painter’s tape, and a clear idea of how they teach.
Here’s why it works. A fixed row of desks locks a room into one purpose, while a flip-top table on casters can be a lecture setup at 9 a.m., a group project station at 10, and a clear floor for movement breaks by noon. That’s the heart of Adaptive Furniture Design for Small Spaces: every piece earns its footprint by doing more than one job.
You don’t need a big budget or design training. You need to know your room, your learners, and a few safety basics, like locking casters and keeping walkways open. We’ll walk through each of those, step by step, so you can build a space that feels roomy even when it isn’t.
What Makes Classroom Furniture “Adaptive” (and Why It Works in Small Rooms)
The Furniture Types That Earn Their Floor Space
When floor space is tight, every piece has to do more than one job. Here are the types that tend to earn their spot, and what each is best at:
- Nesting desks tuck inside one another when not in use, so you can free up a whole corner in seconds.
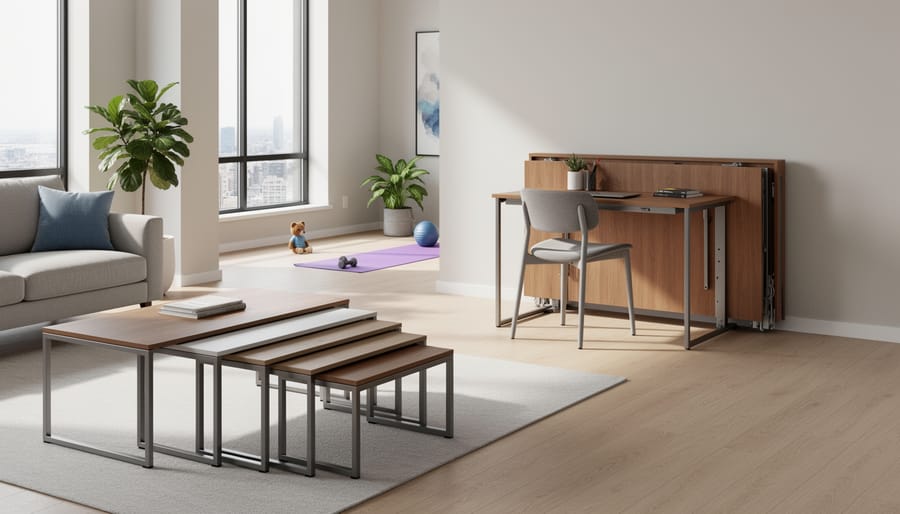
- Fold-flat tables give you a big work surface for group projects, then disappear against a wall afterward.
- Stackable or lightweight chairs are easy for students to move, and they stack out of the way when you need open floor.
- Wheeled storage carts bring supplies to wherever the activity is happening, then roll back to a corner.
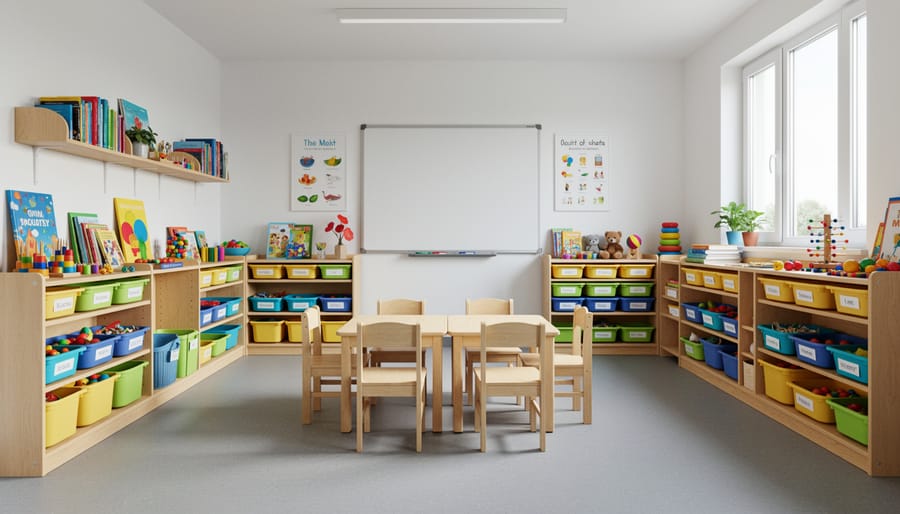
- Wall-mounted organizers use vertical space for books, bins, and materials, keeping the floor clear.
You don’t need all five. Start with the one that solves your biggest bottleneck. If your room feels crowded the moment everyone sits down, nesting desks or stackable chairs will make the biggest difference. If supplies always end up scattered across tables, add a rolling cart or a wall organizer first.
A good rule of thumb: pick pieces that can be moved by the people who use them. If a student or a single adult can reset a piece in under a minute, you’ll actually reconfigure the room when you need to. If it’s awkward or heavy, it tends to stay put. Browsing other space-saving furniture ideas can also spark options that fit your particular room.
Tools and Materials to Gather Before You Start
Before you move a single chair, it helps to gather a few simple supplies. Most of these are cheap, and you may already have half of them in a drawer or garage. The goal is to plan first and install second, so here’s a two-part checklist.
Planning tools
- Measuring tape to record wall lengths, door swings, and furniture footprints.
- Painter’s tape to mark furniture outlines on the floor without leaving residue.
- Graph paper or a free room-planner app to sketch layouts before lifting anything.
- A pencil and notebook for jotting down measurements and ideas.
Installation tools and materials
- A stud finder to locate solid anchor points for wall storage.
- A level so shelves and organizers hang straight.
- A screwdriver or drill, plus the right screws and wall anchors for your wall type.
- Furniture sliders to move heavier pieces without scratching floors.
- Locking casters, if you’re adding wheels to storage carts or tables.
- Cable ties to keep cords tidy and out of walkways.
- Labels so students or family members know where everything lives.
Optional extras include a small step stool, a flashlight for checking inside cabinets, and a helper for lifting.
Now think about the furniture and storage itself. Have your nesting desks, fold-flat tables, lightweight chairs, and wheeled or wall-mounted storage nearby, or at least on your list. You don’t need to buy anything new, and no specific brand is required. A sturdy table you already own, a rolling kitchen cart, or a bookshelf you can anchor to a stud all work beautifully as adaptive pieces. Start with what you have, and fill in gaps over time as your budget allows.
Safety Checks Before You Move or Mount Anything
A little safety planning now keeps your flexible classroom calm and worry-free later. Before you slide, stack, or screw anything into place, run through these quick checks.
Keep paths clear. Leave walkways wide enough for everyone to move comfortably, including anyone using a mobility aid, and never block doors, windows, or the route to an exit. Lock the casters on any wheeled piece whenever it’s in use, so desks and carts stay put during activities.
Secure tall pieces. Anchor tall shelves and wall storage to studs, not just drywall, to prevent tipping. Check the weight rating on every shelf, bracket, and organizer before loading it up. Sturdy, well-chosen shelf materials hold heavy books and supplies far better than flimsy ones, so it’s worth matching the material to the load.
Fit the furniture to the user. Choose desk and chair heights that suit the age and size of your learners, so feet rest flat and arms reach comfortably. Also watch for pinch points on folding legs, hinges, and sliding parts, and show students how to handle them with care.
Know when to pause. If a wall crumbles around an anchor, a shelf sags or rocks, or a folding mechanism feels loose, don’t push on. Check the manufacturer’s instructions first, and if the problem persists, bring in a professional. Taking a moment to stop is always the smart, safe choice.
Step-by-Step: Arranging Adaptive Furniture in a Small Classroom
Three Layouts You Can Switch Between in Minutes
Think of your room as having three “modes.” Each one uses the same pieces, just moved, folded, or nested differently, so a switch takes a few minutes instead of an afternoon.
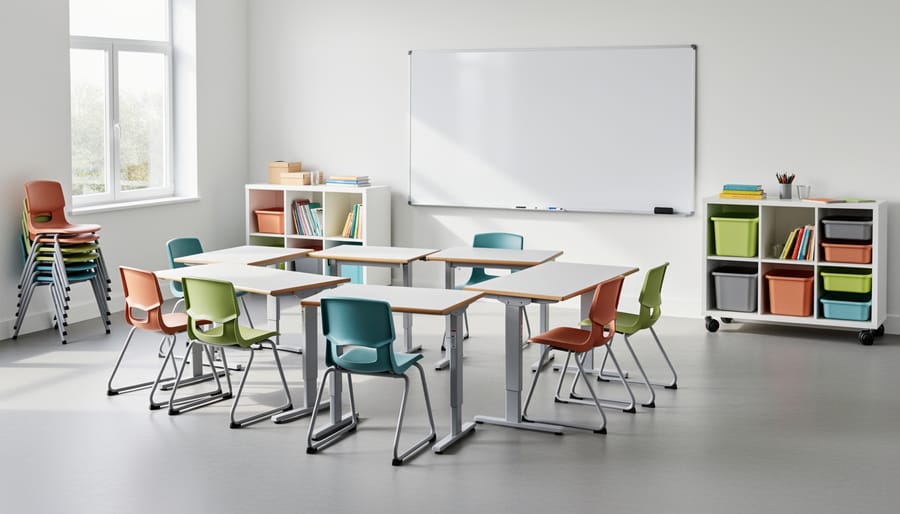
Independent work. Space desks or fold-flat tables so each learner has a clear sightline to the front and a little breathing room on every side. Roll the storage cart against a wall and lock the casters. Keep the center walkway open so you can move around easily to check in with each student. If you’re working with limited floor space, angling desks slightly toward the wall often gives you an extra seat without crowding.
Small-group collaboration. Slide two or three nesting desks together to form a pod, or pull a lightweight table into the middle and gather chairs around it. Wheeled seating makes this nearly effortless. Bring the supply cart to the group’s edge so materials stay within reach, and tuck anything unused back against the wall. Adjustable-height pieces help here, since mixed heights can share one surface comfortably. If you’ve already tried a small apartment setup with transforming pieces, this pod arrangement will feel very familiar.
Open floor for movement or presentations. Fold tables flat and lean them along a wall, nest the desks together, and stack or push chairs into one corner. Park the wheeled storage out of the way. Suddenly you have a clear floor for stretching, role-play, or a short presentation. Leave a wide, unblocked path to the door at all times.
A simple tip: photograph each layout once it feels right. Students can use the photos to reset the room themselves, and you’ll stop second-guessing where everything goes.
Expert Tips for Squeezing Out Extra Space
A few small habits can make a tight room feel surprisingly roomy. If you want more ideas after these, browse some clever furniture hacks for small rooms and pick the ones that suit your space.
- Use the backs of doors and empty wall space for hooks, pocket organizers, and slim shelves.
- Choose light-colored or open-leg pieces so the floor stays visible and the room feels airy.
- Label every bin and shelf so students can reset the room themselves.
- Rotate seasonal or rarely used items into a closet or under-bed bin, away from the main space.
- Keep one clear “parking spot” for wheeled pieces so they never drift into walkways.
You don’t need to do everything at once. Start with whichever tip feels easiest, notice how the room responds, and build from there. Even one cleared corner can change how the whole space feels.
How to Check That Your Setup Actually Works (and What to Tweak Next)
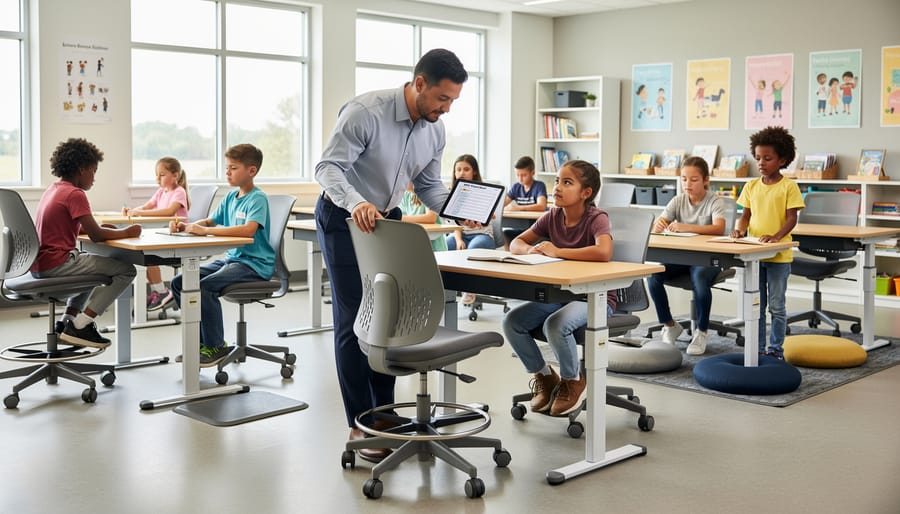
Once everything is in place, give your setup a quick walkthrough test. Set a timer for five minutes and try the layout the way it will really be used.
Start with movement. Can everyone walk to their seat and reach the door without squeezing past furniture or stepping over bags? Then try a reset. Switch from independent work to group work, or the other way around. If it takes more than a few minutes, something is probably too heavy, too crowded, or missing a spot to live.
Next, sit in every seat. Feet should rest flat, elbows should sit comfortably at desk height, and everyone should be able to see the board or screen without twisting their neck. Finally, give each piece a gentle push. Locked casters should hold, shelves should feel solid, and folding parts should latch cleanly.
Don’t skip the people who use the room. Ask students or family members what feels awkward, then change one thing at a time. A chair moved a few inches or a basket relabeled often solves more than a big purchase.
If something needs upgrading, take it slowly. Fix the biggest daily annoyance first, whether that’s a wobbly table or a missing storage spot, and add pieces as your budget allows.
Revisit the walkthrough every so often, since a room that works well today may need a gentle nudge next term.
Common Questions About Adaptive Classroom Furniture in Small Spaces
Small rooms raise the same handful of questions again and again. Here are quick, practical answers to the ones readers ask most.
Is adaptive classroom furniture a good fit for renters and homeschool setups?
Yes, it’s often a great fit. Most adaptive pieces, like nesting desks, folding tables, and wheeled storage, need no permanent changes, and freestanding shelves or removable hooks can stand in for wall-mounted storage if your lease limits drilling.
How do I include students with different needs or heights?
Look for height-adjustable desks and chairs, and keep a few seating options available, such as a standard chair, a stool, or a cushion for floor work. Ask each learner what feels comfortable, since their feedback is the best guide, and keep aisles wide enough for easy movement.
How can I keep costs manageable?
Start with one or two flexible pieces rather than refurnishing the whole room. Make use of what you already own, such as a sturdy table or a rolling cart, and add new items gradually as your budget and needs become clearer.
Are DIY modifications a good idea?
Simple ones usually are, like adding felt pads, labels, or locking casters that are rated for the weight of the piece. Skip anything that changes how a piece holds weight, and check the manufacturer’s instructions before altering it.
How often should I revisit my layout?
A quick check every few weeks works well at first, then at natural breaks like a new term or season. Revisit sooner if the room feels crowded, someone new joins, or an activity keeps getting awkward.
Remember, there’s no single “right” answer here, because every room and every learner is a little different. If a tip above doesn’t fit your situation, treat it as a starting point and adjust. The beauty of adaptive furniture is that your setup can grow and change right along with you, so small experiments are always welcome.
A small room can still be a flexible, welcoming place to learn. You don’t need a big budget or a lot of square footage. You need a clear plan and a few pieces that can change shape, height, or position when your day does.
That’s really the heart of Adaptive Furniture Design for Small Spaces: measure first, choose furniture that does more than one job, group your room into simple zones, and keep everything easy to move and reset. Once those habits are in place, the room starts working for you instead of the other way around.
You don’t have to do it all at once, either. This week, pick one small change. Tape out your zones on the floor, swap in a lighter chair, or clear a wall for vertical storage. Notice how it feels, then build from there. Small steps add up quickly, and your learners will feel the difference.